Many years prior to the word “blog,” people wrote personal stories in various online formats across the internet. Blogs are now more than just a means of self-expression. Blogging sites such as WordPress makes launching a blog possible for everyone without learning a single line of code. You can build content in a post editor that looks very much like Microsoft Word after you have set up your blog.
Hence, here is a step-by-step guide on how to start a WordPress blog in 2024.
How to Start Your WordPress Blog? The 101 Guide
Step 1: Purchase a Domain Name
source:wpchap.com
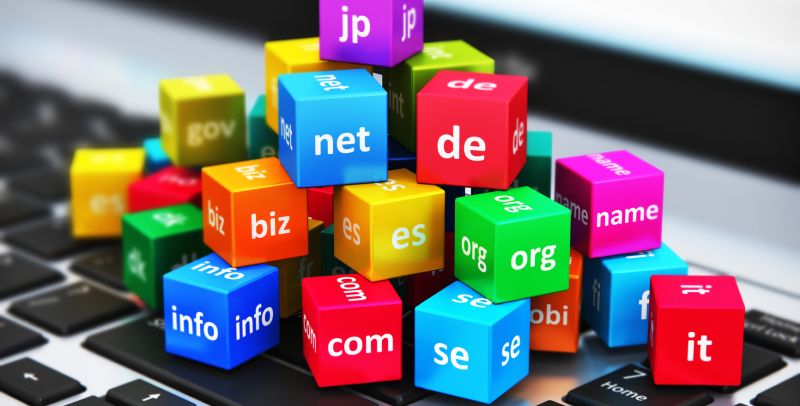
A domain name is an address for your blog. For instance, there are various domain names such as Google.com, Facebook.com, etc. The domains serve as an address to point to the server on your computer. If you use a free service and do not buy a domain name, you may have a domain like ‘mysite.servicename.com’.The acquisition of a domain name is, therefore, an integral part of any blog that should be taken seriously.
The ability to move services later provides a benefit to buying your domain name separate from your host. It is simple to change hosting names by purchasing your domain individually if your site is becoming successful. Now that your blog has an address, you will have to point it to a web host.
Step 2: Find a Host Provider

source:pxfuel.com
The hosting provider ensures that your site has a server area. The website may be found online if present in the server space. That is, your blog requires the server to be visible on the web. There are hundreds of web hosts, most of which meet the basic needs of WordPress, although it can prove very challenging to find the best one. We recommend Bluehost, one of the most well-known brands in web hosting for beginners, which is suggested by WordPress as well.
2.1 Pick a plan and use the domain name
The basic plan of Bluehost consists of 50gb of storage that is greater than most sites will ever require.
The basic plan will apply if you do not upload thousands of photos. You can easily change your plan later. As the domain name is already purchased, you can now enter the domain name after selecting the plan.
Step 3: Installation of WordPress
source:cpothemes.com
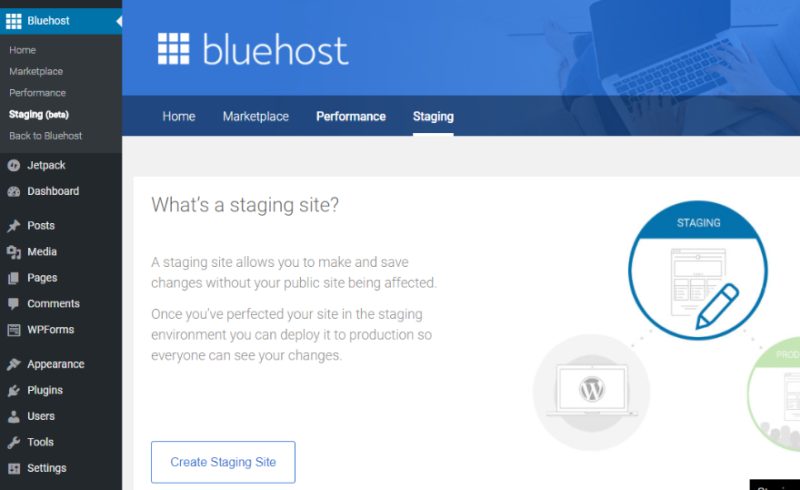
Bluehost has the benefit of ‘Automatic WordPress Installation’ over other web hosts that makes it simple to get started in WordPress. WordPress is already installed after logging into the new Bluehost account.
If you are not using Bluehost, there are many other hosting providers that will help you with the installation. Moreover, if you’re a developer, you can access the WordPress close from WordPress.org.
Step 4: Pick a Theme for your blog
source:wpengine.com.au
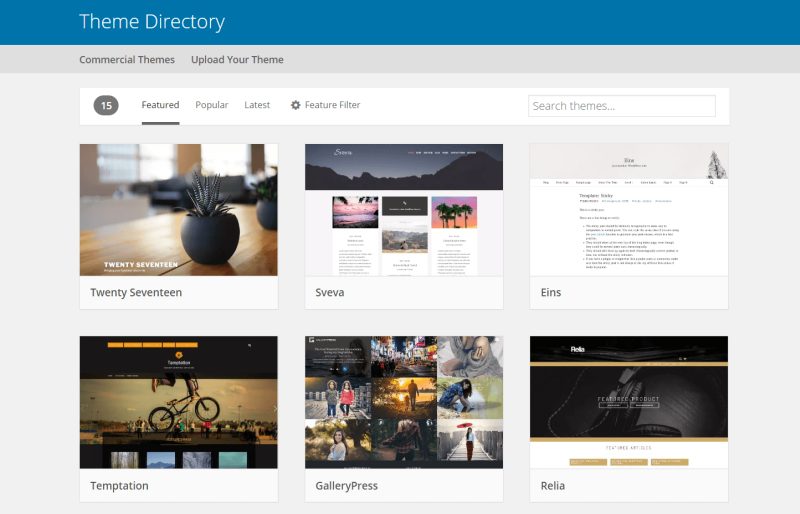
There are many free and premium themes to pick from when you search for a theme for your blog. The look & feel of your WordPress blog can be changed using themes. We recommend using a theme from Themeforest to build your website. Envato’s Themeforest is a comprehensive premium theme directory.
You can select the appropriate theme you wish for your blog from this directory at reasonable prices. Not every theme is bad, but many themes are limited and often of poor quality on WordPress.org. So, choosing a well-supported theme is an essential part while creating your blog.
Step 5: Install the Necessary Plugins
source:visualmodo.com
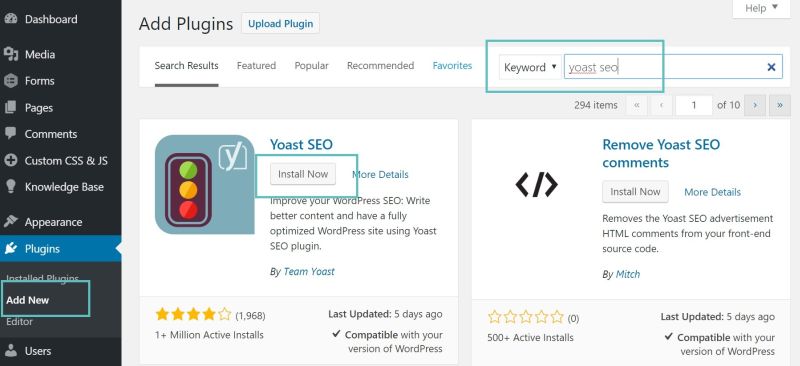
WordPress plugins play an important role after setting up a WordPress blog. The enormous advantage of using WordPress is the wide choice of plugins. Installation of WordPress plugins is as easy as plugins > Add New. Click the ‘Install Now’ icon after you search and choose the plugin you want. You can easily install plugins with this interface.
Step 6: Start with your Blog
source:pxfuel.com
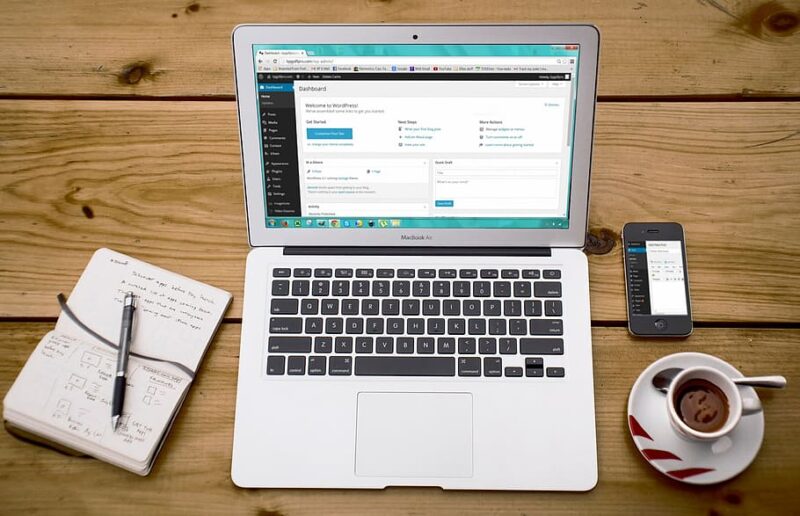
Before you start your blog, the initial step to do is to make your blog browser friendly. This means you only need to clean and read your permalinks. You should subsequently set up your comments and verify your username.
6.1 Permalinks
source:ryrob.com
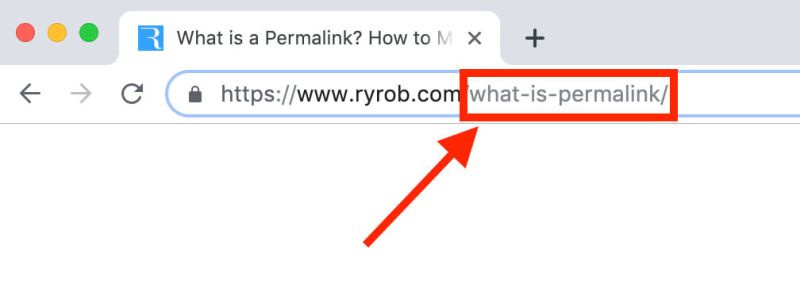
Permalink in WordPress is the web address/ URL of the content you post on your blog. The first thing you should do after installing WordPress is to change the construction of the permalink. To choose the correct permalink configuration, Go to settings >> Permalinks in your WordPress dashboard.
6.2 Comments

source:pxhere.com
Ensure that your blog is free from comments that make it filled with unsolicited information. Most of the enterprises use automatic spam, ignoring comments to advertise themselves with links to various sites. To check your blog, messages go to Settings>>Discussion and select two options.
6.3 Username
source:kinsta.com
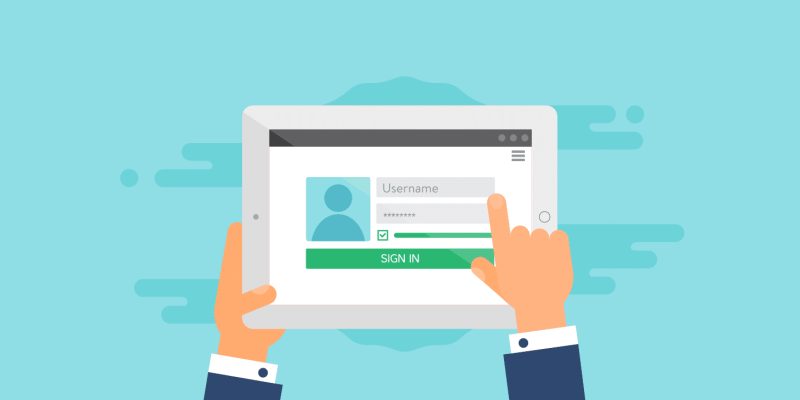
In WordPress, ‘ admin’ is the default username of every user, and it is important that you update your name into something more unique for the safety of your site. To check the username, go to Users >> All users. You can’t change the username in WordPress. You can only delete it.
To change the username, select Add User and fill in the fields, and you need a password to login to your account. Select Administrator from the list and click Add New User. Now, logout and login again as a new user and delete the admin account.
Hence, your blog is now ready to start with your post.

