When the time for renovation comes, remember that the bathroom is an important room that will need a new makeover. The bathroom floor and walls will need new tiles and a fresh look.
But how exactly do you do that? Seeing that this is a DIY guide for 2024, we will look at exactly that. So with all that said, let’s start.
1. Choose the Type of Tiles

Preparation is key before doing any job. That’s why you should prepare for the sort of tiles you plan on getting. Fortunately for you, this is a very easy task. All you need to do is simply decide what appeals to you the most.
There are two deciding factors when choosing bathroom tiles. Those are texture and gloss. The texture is obviously important as most people usually choose plain white tiles or tiles with some sort of texture.
And while these are factors that impact the aesthetic side of things, you should also consider how durable they are.
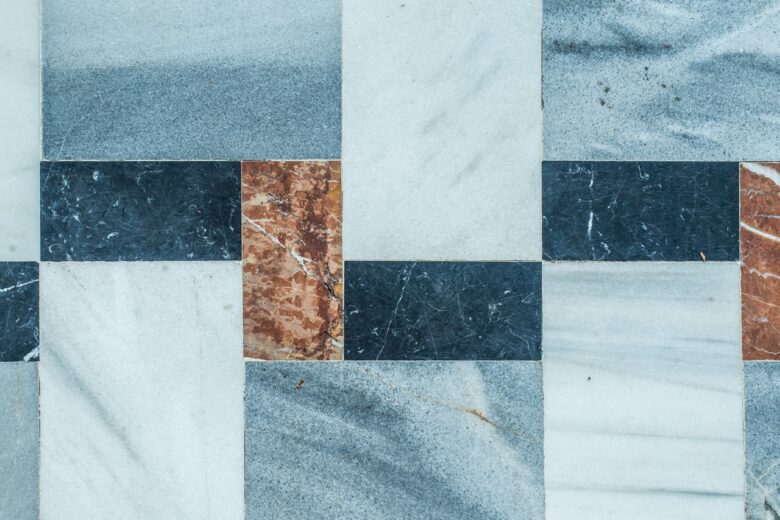
Tiles can also come in multiple types. You have ceramic, marble, mosaic, limestone, vinyl, and a particularly new trend that many households get is adhesive.
Every single one of these comes with its own set of pros and cons and that needs to be taken into consideration. While we won’t do that, seeing as that’s a topic for another article, you can do your research on the matter.
2. Consider How Much You Need
The biggest mistake to make is miscalculating how many you need to get the job done. There is a simple rule for this; measure your space. If you know exactly how much space you need to cover, then that solves this issue. You do need to take into account if there are any obstructions along the way such as pipes, electrical sockets, etc.
Seeing as there are plenty of obstructions on the bathroom walls, you will need to also get the right tools to properly cut the tiles into the right shape.
3. Preparing the Surface

The next step of the DIY process is to prepare the surface where the tiles go. This is the part of the process where you grab a sponge and do some cleaning. A smooth and clean surface is the best way to approach it.
But there is one more thing to mention before you start. If you already have tiles on the walls and floor, then you can either remove them or go over them. Going over them isn’t recommended if you’re adding new tiles. But it can be done if you plan on adding adhesive tiles. Adhesive tiles can be plastered over the existing ones.
Adhesive tiles provide you with the same level of aesthetics as any other type of tile but removes all the hard work. Many sellers provide first-hand information on how to use adhesive tiles. And for that, make sure to visit www.stickandgo.com.
If you’re not going with adhesive tiles, then do grab a hammer and bolster and start removing the existing tiles. This could result in hours of work and it might leave behind all sorts of cracks and holes.
The DIY approach can result in all sorts of issues if you’re not careful or have no prior experience in removing tiles. So maybe getting adhesive tiles is the better solution.
If you’re still planning on going without adhesive tiles, then the best approach might be to ask for professional assistance.
4. Where to Start First?
The biggest debate before starting the job is knowing whether to start with the walls or floor. According to many experts, it’s better to start off with the walls and then go to the floor. The reasoning behind it is that you leave the floor for last so not to damage it. You cannot damage the walls but you can damage the floor with equipment.
And while this is the golden rule, you don’t have to follow it.
The next thing is to calculate the correct place to start from. This doesn’t take into account walls or floors, but where to start from. Whether you choose to start with the walls or floors first, it’s important to mark the space. Marking makes sure that you’re not leaving any significant areas with tiny pieces. You can start from the bottom and make your way to the top, or go the other way around. But it’s important that you measure first and know exactly how many tiles you’ll need to cut to fit the leftover space.
5. Equipment Needed

Lastly, let’s look at what sort of equipment we’ll need for the job.
Being a DIY expert means having the right tools to do the job yourself. But in order to get the right tools, you’ll need to know what the right tools are.
· Manual Tile Cutter
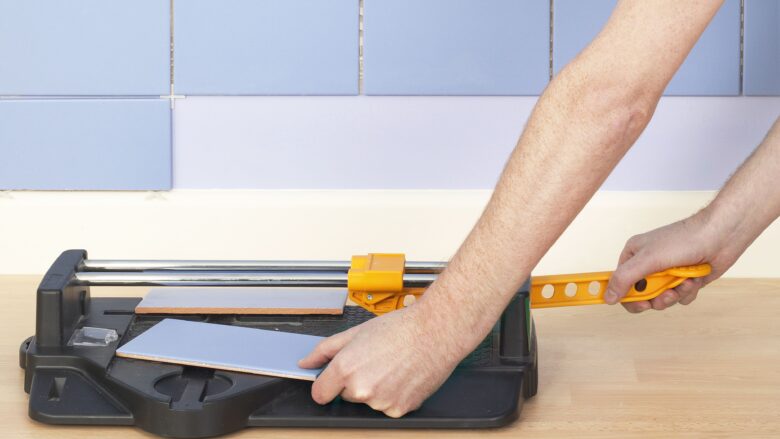
Manual tile cutters are an absolute necessity. This tool gives you so much versatility that going without one is a mistake. By having one ready to go, you can manually cut tiles to fit the space. Since chances are not every tile will fit into the space, having a manual tile cutter will solve a lot of problems.
· Mixer
If you’re not going with adhesive tiles, then you will need to make the adhesive. There is no way for the tile to stick to the surface without adhesive. And make no mistake about it; you’ll need lots of it. And you’ll need to have the tool to mix the adhesive.
For this, getting a mixer, preferably electric, will solve plenty of headaches and save plenty of time.
· Bucket
A bucket is an all-around tool that can do anything from carrying your equipment to transport adhesive and other materials. Always have one by your side as it makes the job that much easier.
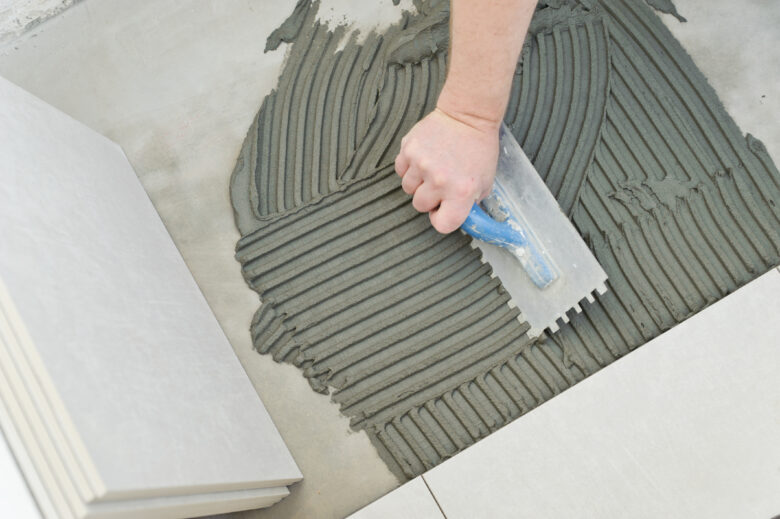
· Tile Trowel
And lastly, you’ll need a tool to properly flatten the adhesive once applied. For this, make sure to get a tile trowel.
Conclusion
There is plenty of information on how to tile bathroom floors and walls. The process can be done by yourself or you can greatly eliminate much of the work by getting adhesive tiles.


