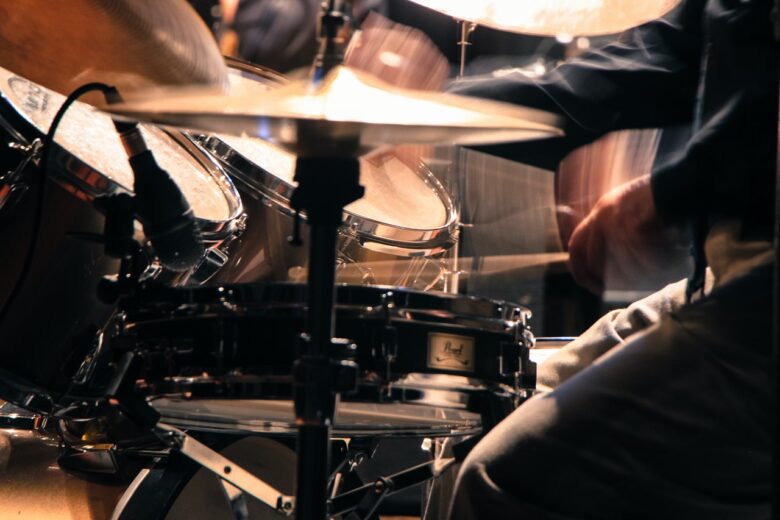
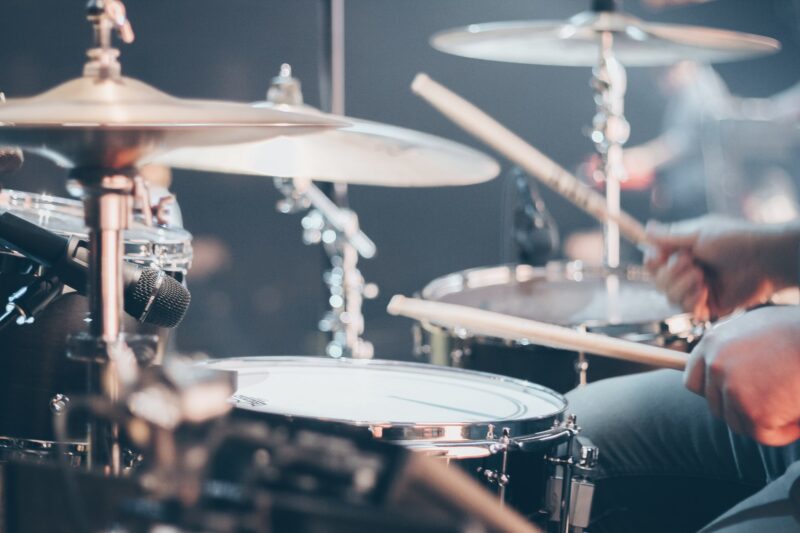
When a band is performing live, controlling stage volume can be an issue. As a drummer, you want to play loud enough to keep pace with the sound system and be heard well by those in the back row. However, by hitting the drums harder, you force the rest of the band to follow suit and level up the decibels. What used to be a well-practiced show can quickly transform into a volume war, where there is no winner.
According to simplydrum.com, there are things you can do to keep your drum sound in check and prevent its bleed into other mics on stage, which subsequently causes various sound control problems like bad monitor mixes, feedback, etc. Read on to find out what those things are.
3 Top-Notch Ideas That Will Help a Drummer Minimize Sound Spreading

While a pair of good in-ear monitors can help improve sound quality and cancel noise to some extent, the monitors alone are not enough to solve the problem entirely. The key to this is adjusting and controlling the volume of your drum set, which can be done in three simple steps:
- restraining acoustic energy
- absorbing acoustic energy
- enhancing the ‘clean’ sound from the drums
Let us look at each of the three drum noise-reduction steps in more detail.
Step 1. Restraining the drums’ acoustic energy

One way to contain the drums’ acoustic energy is to use a plastic shield, also known as an acoustic drum screen. The tool is designed to turn much of the direct line-of-sight noise into reflected sound and prevent it from hitting straight on the listeners’ eardrums. However, not being able to absorb the sound, the screen only re-routes it, meaning the noise is still out there, bouncing off different surfaces and reaching the audience from unexpected angles.
Another complication created by the shield is that the drummer, who is the first to be targeted by the reflected sound, cannot hear himself clearly and, thus, plays louder, producing more sound than ever. As a result, the amount of acoustic energy is the same, while the clarity is lost since it is now unclear what the source of the reflected sound is.
While it is generally a helpful thing, using an acoustic drum screen alone is counterproductive. By introducing some conscious energy-absorbing effort, you will add a whole new dimension to your music.
Step 2. Absorbing the drums’ acoustic energy

Once you have blocked the direct line-of-sight sound of your drum set with a plastic shield, your next move will be to absorb the better part of the reflected sound and not let it fill the room with rambling echoes. For this purpose, drummers often use sound-absorbing or acoustic foam.
Acoustic foam panels designed to prevent a great deal of noise transfer are strategically installed in three different locations – on the wall behind the drummer, on the acoustic shield surrounding the drummer, and over the drummer’s head like a protective, sound-absorbing lid.
Drummers usually decide on how much sound-absorbing foam they want to install based on a number of practical and aesthetic considerations. Here are a few essential tips to keep in mind:
1. Do not cover the entire front surface of the acoustic shield with noise-canceling foam. You will want to be able to see the rest of your bandmates clearly and be visible to the audience in the back of the room. Instead, consider installing individual foam sections along the front bottom of the acoustic shield, at the height of the kick drum top.
2. Use more foam to cover the sides. An even greater amount of acoustic foam should be placed on the sides of the shield. Install the panels higher on the side where the hi-hat and the snare drum are since these two are generally the primary source of the noise.
3. Cover as much space on the wall behind the drummer as possible. The biggest portion of sound-absorbing foam should go on the wall behind the drummer. Ideally, you should cover the entire surface with it so that the sound will not bounce off the thing chaotically.
The two above steps will allow you to bring down the overall drum volume significantly. The musicians will be able to hear themselves and one another clearly, while the stage sound will be much less overpowering for the listeners in the front. However, this brings around a new challenge: the audience in the back of the room cannot hear you well enough.
Step 3. Enhancing the “good” sound from the drums

To make sure your sound is not only great but can be heard by anyone in the room, you will need to integrate your drums into the sound system. Using a mic on the snare, the hi-hat, and the kick drum should do the trick; however, the best results are achieved if you’ve got mics for all the toms as well.
Here are a couple of things to keep in mind when it comes to selecting mics for each of your drum set pieces:
- the kick drum sounds best when equipped with a large-diaphragm microphone
- the hi-hat plays well with a condenser mic
- a simple dynamic mic will work nicely for both the snare drum and the toms
- a pair of well-placed overhead microphones will allow you to capture the transients and ambient sounds
Synchronize Your Drums Wisely
By incorporating your drums into the sound system and synchronizing them with the rest of the band, you will be able to stop acoustic sound from overwhelming your colleagues and reverberating around the room. Follow the above tips carefully, and you will be pleased with how much more beautiful and cleaner your band’s live sound has become.
Where do you stand on using an acoustic shield as a way to contain the over-the-top onstage drum sound? What is your trusted method of absorbing acoustic energy? Let us know what you think in the comments section below!


