Linux is one of the most flexible operating systems on the market. Because of that, so many enterprise businesses have come to rely on the open-source platform to help expand their capabilities and help them compete.
One of the things that makes Linux so flexible is the ability to create shell scripts. These small scripts can do just about anything, from checking systems, running network tests, backing up drives, and automating tasks.
For many Linux admins, working with an internal IT team, such as BairesDev, or even quality assurance outsourcing, shell scripting is an absolute necessity. But for those new to Linux, shell scripting can seem a bit daunting.
It doesn’t have to be.
In fact, once you have a grasp on the basics of shell scripting, you’ll soon be crafting your own shell scripts to fill just about any need.
But why would you bother with shell scripting, when there are already so many tools and applications available? Because sometimes the available tools don’t offer what you need. Or you might need to use two or more tools together, and shell scripting is the best way to handle such a task.
How do shell scripts work?

Shell scripts are tiny executable files that can call programs to do just about anything. If there’s a tool that can be used from the command line, it can be used in a shell script.
How these scripts function is simple:
- You write your script.
- You give it executable permissions.
- You run it.
And once your script is functioning properly, it can either be run on a manual basis or set up as a cron job to run automatically.
With that said, let’s start building a shell script.
Hello, World!

To illustrate how a shell script works, we’re going to start with the ever-popular Hello, World! example. What this does is simply print out the phrase, “Hello, World!” at the terminal prompt.
To create it, log into your Linux machine, open a terminal window, and type the command:
nano hello-world
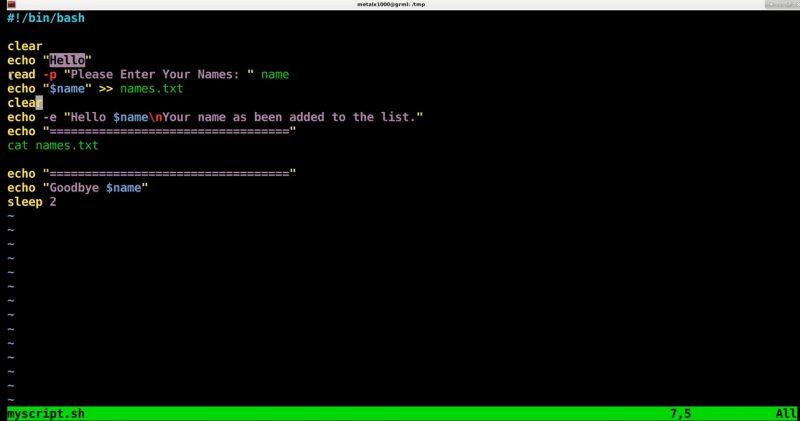
The first line of every shell script declares the shell interpreter to be used. In almost every case, that will be bash. To do declare bash as the interpreter, the first line in the script will be:
#!/bin/bash
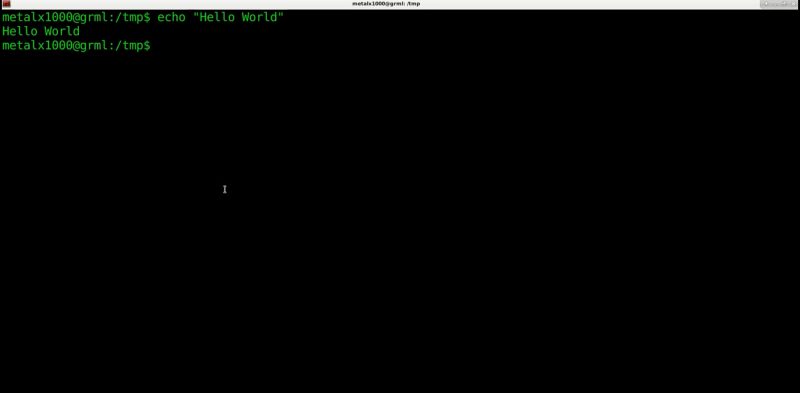
Our Hello, World! example will use the echo command to print out the phrase in question. If you ran the command at the bash prompt, it would be simply:
echo “Hello, World!”
That command would print out, you guessed it:
Hello, World!
How do we use that in a bash script? Believe it or not, it’s just as easy. It would look like:
#!/bin/bash
echo “Hello, World!”
Paste the above contents into your script. Save and close the file.
Next, we have to give it executable permissions. This is done with the command:
chmod u+x hello-world
Finally, to run the script, we’d issue the command:
./hello-world
You should see Hello, World! printed at the prompt. Congratulations, you’ve just written your first shell script.
Now, let’s make it a bit more complicated and have it print out the current date and time in addition to saying hello to whatever user is running the script.

For this we’re going to add two more commands into the mix:
- whoami – prints out the username.
- date – prints out the date and time.
Doing this can be a little bit tricky. You can’t just use whoami like so:
echo “Hello, whoami!”
Why not? Because that would print out:
Hello, whoami!
Instead, you have to let bash know you’re using a command in line. This is done with the $ character, which indicates whatever follows should be considered a command. We’ll also wrap the command within () to indicate the command being used. So that line would look like:
echo “Hello $(whoami)!”
The same thing holds true with the date command. This line would be:
echo “The date and time is $(date)”
That shell script would look like:
#!/bin/bash
echo “Hello $(whoami)!”
echo “The date and time is $(date)”
Make sure the script has executable permissions. When you run it, it will print out something like:
Hello, Jack!
The date and time is Fri 17 Apr 2024 11:11:42 AM EDT
Let’s make this even more complicated. What if you want to separate the date and time, such that it prints out something like:
The date is Friday 17 April and the time is 11:11:42 AM EDT

To do that, you would have to use the date command with specific options. To have the date command print out only the date, you’d use the following options:
- %A – for day of the week.
- %d – for day of the month.
- %B – for month.
So that line now looks like:
echo “The date is $(date +”%A %d %B”)”
Now we add the time in the form of:
echo “The time is $(date +”%H:%M”)”
We put those two together like so:
echo “The date is $(date +”%A %d %B”) and The time is $(date +”%H:%M”)”
So our new shell script looks like:
#!/bin/bash
echo “Hello $(whoami)!”
echo “The date is $(date +”%A %d %B”) and The time is $(date +”%H:%M”)”
When you run this script, it will print out something like:
Hello Jack!
The date is Friday 17 April and The time is 11:20
Conclusion
And that’s all there is to writing your first shell script. Now that you have a basic understanding of how these handy tools work, you can build upon this to create more complex and (actually) useful scripts. So whether you’re working with software testing outsourcing companies or your own Linux server, you now have the ability to flex your admin muscles a bit more.


