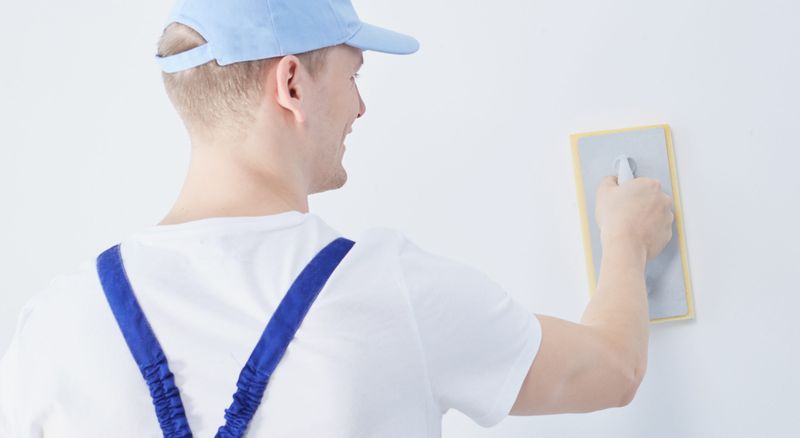
There might be some holes or cracks in your walls that are completely annoying and ugly. And if so, you should know that a little bit of cement can fix it in no time. However, plastering can be an extremely time-consuming process, especially if you do not know what you need and how to do it properly.
Now, if you are in this situation, this article might be able to help you quite a lot. The text below is going to feature a how-to guide for coating your walls, as well as some other information that you should know before starting your project. Let’s take a closer look at the guide:
Step 01: Gather Your Materials, Prepare The Tools, And Protect The Floors
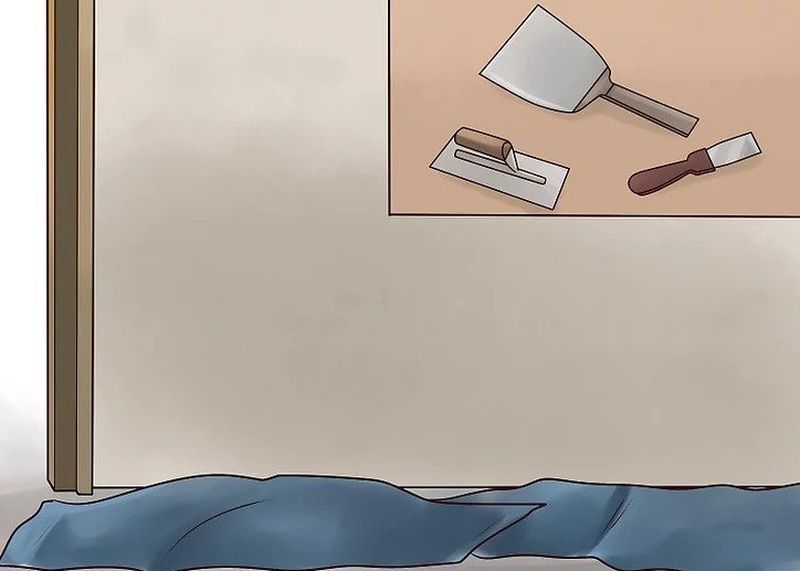
The most crucial thing that you should remember is to keep your tools clean, especially since you’ll want to avoid it getting contaminated by over items. Before you begin mixing it, ensure that the towel, float, bucket, and/or anything else is clean. Even the smallest amount of dirt can affect the mixture’s ability to stick on the surface.
Once you get everything ready, find old clothes, sheets, plastic tarps that will help you protect your floor and keep it clean. The tasks around this DIY project can get quite messy and sticky, and doing this simple thing can help you save a lot of time later on since you won’t need to clean it. Keep in mind that the cement can damage wooden floors, hence, it is crucial to protect it. Once done, roll it up, take it out, and clean it.
Step 02: Clean The Area Where You’ll Apply The Mix
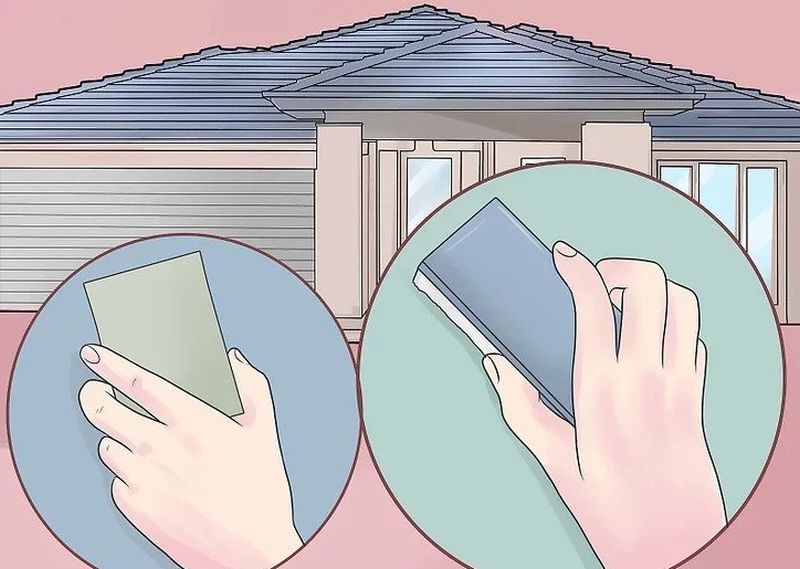
Next, you’ll want to clean the area in order to remove any dust or debris leftover. You can do this by using a stiff bristle brush. When you finish, you should use a damp rag to get rid of any additional debris on the wall. This is extremely important since the plaster won’t stick on areas where you can find stains, soap, oil, mold, and/or tar.
Step 03: Mix The Plaster in a Bucket
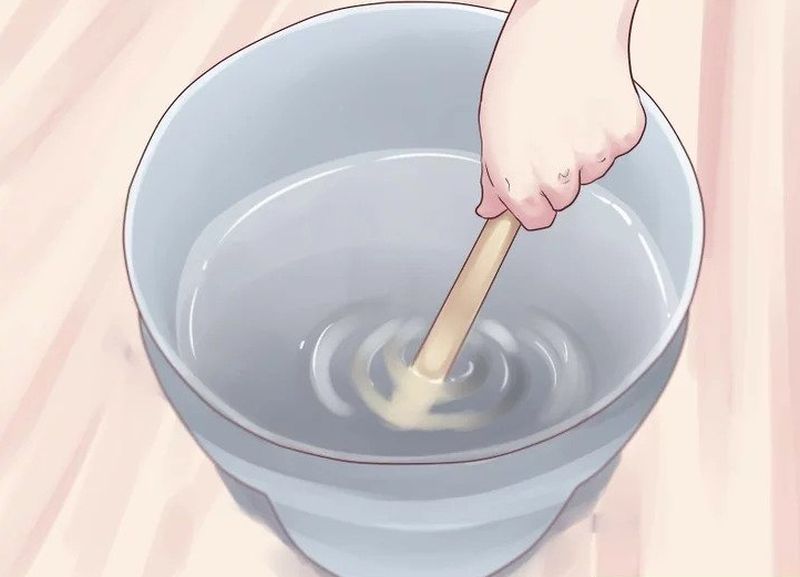
Now it is time to mix you plaster in a bucket that can hold approximately 5 or 7 gallons. Fill the container to its halfway mark with cold water. Open the bag, pour it into the bucket until it starts forming a mound on the surface. Then use a rod or other sturdy items to stir the mixture.
Do not forget that it is important to add the water first and then the lime. If you do it the other way around, you’ll apply pressure to the substance and you won’t be able to work with it since it will set too fast. You can also use a drill with a mixing feature that will help you with making larger batches.
Step 04: Applying it to The Surfaces
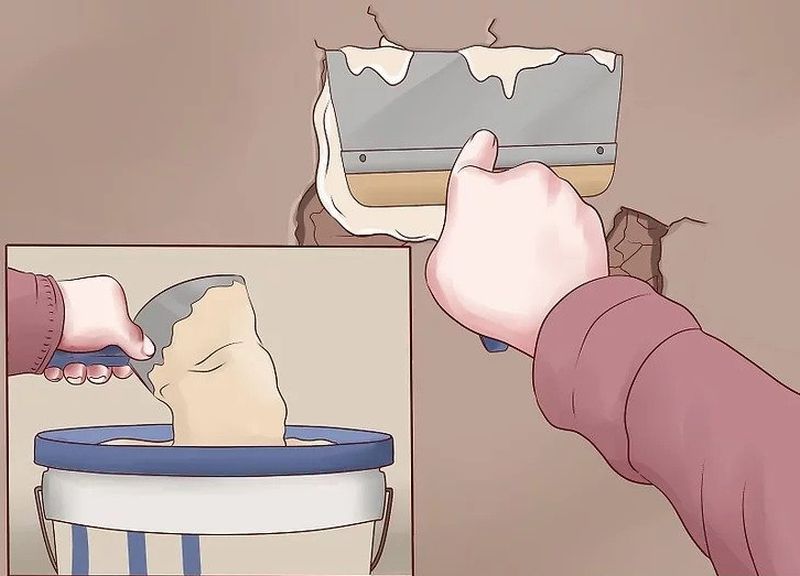
By using a trowel, scoop the mixture from the bucket. Next, bring it to the area you want to be fixed, and if you want to ensure that the mixture sticks and that you are accurate while placing it, ensure that the mix is in the center of the trowel. Start with a moderate amount of lime, and add more if needed.
Keep in mind that it is easier to build up the layer instead of removing the excess mortar from the surface. Starting from one of the bottom corners, smear it across the area you are working on. If the mixture is too soft and does not stick, you can always allow it to sit for about 5 minutes since it will harden.
Step 05: Scrape The Remains
If you need to add a second layer, you should scrape the initial one first. According to stuccosanjose.com, this will create a better base for the additional layer. Now, if all of this sounds too difficult for you, you should know that you can always opt for an expert who will finish it for you.
Step 06: Spread And Polish The Last Layer And Allow it to Set
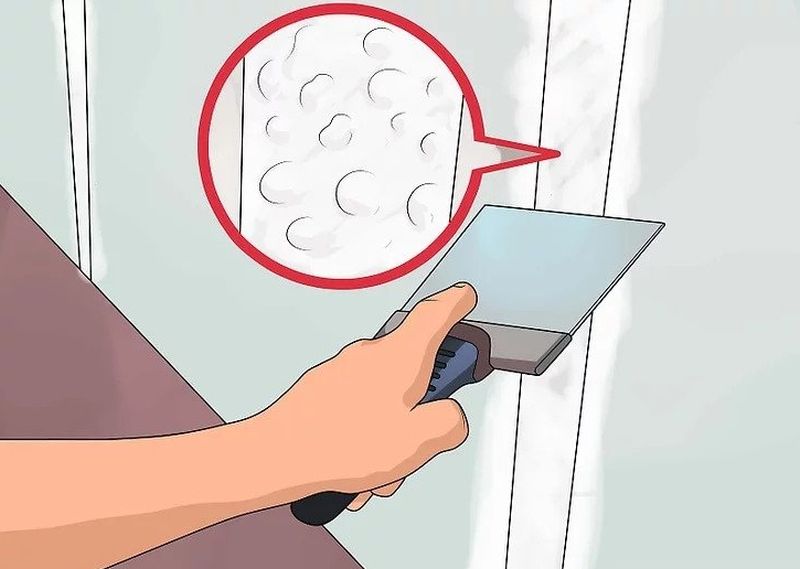
You should spread the last layer of plaster on the hole you are working on. This step will require you to apply it as you did during ‘Step 04’. By doing this, you can ensure that there are no gaps, seams, or other hindrances that might make the area uneven. Depending on various conditions, you should leave it to sit for at least two to five days. Before you add wallpapers, paint, or other items, it needs to be completely dry.
What Should I Consider Before Purchasing Plaster For My DIY Project?
Like everything else, there are some things that you should learn before taking on a DIY project. For this particular one, the very first thing that you’ll need to consider is what cement type you should get. Generally speaking, there are three most common types including traditional, synthetic, and modern.
Traditional packs are made from substances that have been used since the 18th century such as marble and gyps. Synthetic ones are manufactured from mixing different chemicals. Now, this type is usually pre-mixed, hence, you won’t need to lose time on mixing it by yourself. Lastly, there are modern bindings that usually incorporate plastic stucco. They also have other synthetic resins that make it easier to apply the plaster to the wall.
Do not forget that your walls will need some maintenance after the plastering, especially since by doing this, you’ll make the plaster in good condition for a lot of years. Caring for plastered areas is relatively simple and you won’t need anything special for it. In fact, all you’ll need is a spray bottle, soft rag, and water.
Conclusion
As you can see, it is not that difficult to plaster a wall. Besides making your walls look gorgeous, plastering will also help you with keeping your home neat and clean. So, now that you know what you need to do, do not lose any more time. Instead, start gathering your materials and start your DIY project right away.


