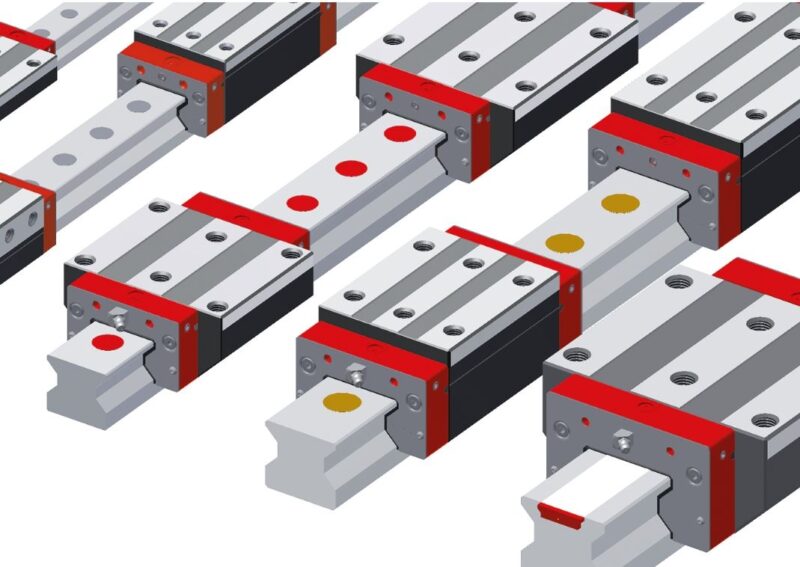
Mini rail alignment and linear guidelines talk about different mechanical assemblies that are a part of a bigger system that integrates into the machine or your gadget. There are always some time-consuming parts when it comes to the assembly and the installation of the model. Want to know more, as well as what are some crucial parts and pros & cons when it comes to rail alignment in general? Keep on reading since here are all the do’s and dont’s when it comes to the linear mini rail alignment that you should know of.
1. Working with poor surfaces or low friction
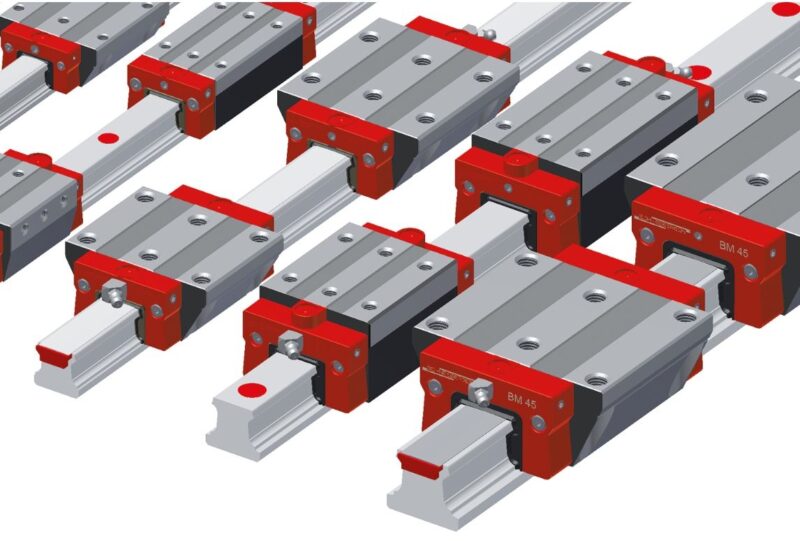
Not fabricating the right surface to withstand the tolerance is a common issue that you will face. Liner guides need to perform with a low friction level (or no friction) for their optimal use. Ideally, you would have to work with the same type of friction mounted or not mounted. If the friction in a guide increases at any point during the assembly installment you should know that mounting tolerances or rail alignments are not in place in this case, and you will need to have it fixed.
2. Not thinking about the alignment
Not thinking about the alignment can cause some issues. This is because your mounting features will result in poor alignment. Think about speeding up the process with the right mounting part. Just a pair of simple pins can help with the rail and can get you back on the right track. Thinking about the volume of your machine and some mounting features will speed up your performance and endurance. Most manufacturers will experience an issue with parallelism, which is why and where the linear guide can help with the performance.
3. Not specifying preload correctly
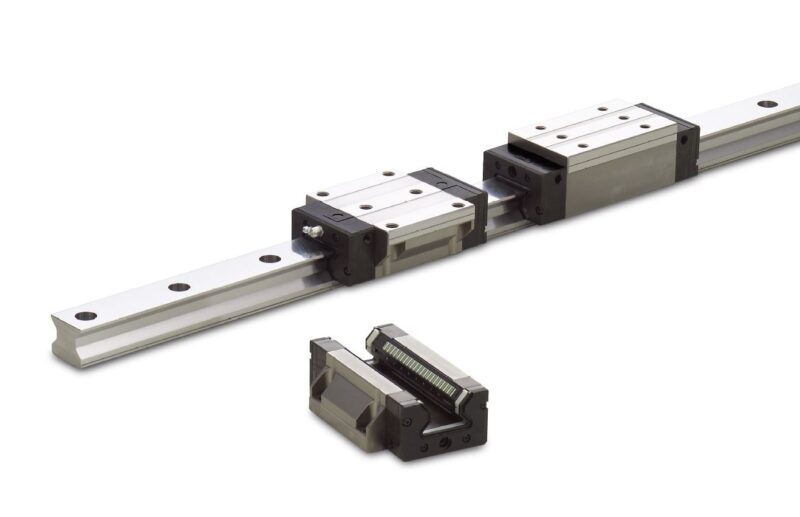
Going for the right diameter of the balls with some increments to adjust the fit between the block & the rail is important.
There should be no clearance between the block and the ball. The high-precision linear guide that has a preload will give you optimal performance. If you can’t find or make the ideal diameter, you can always stick to the normal preload.
If you tend to fail and produce the best mounting surfaces as accurately as the linear guide, you could face an issue with having the preload in the first place. Mounting parts need to be connected the right way, and in some cases, a minor misalignment could also do the work.
4. You are not aware of the effects, cost, or materials
Picking out the best materials and coatings will make a difference in the overall performance of any gadget, and especially when it comes to rail alignments. You can go for thin and dense chrome plating and choose anything up to black chrome coatings. When properly specified and installed, linear guides will help with the effectiveness of most linear motions. You don’t want to face any form of anticorrosion when it comes to your chrome plates. Some people even prefer & use stainless steel in this case.
PS: be aware of the shipping costs, as well as shipment due dates. The more asked-for & popular the material, the harder it is to get your hands on it.
5. You are skipping the testing part
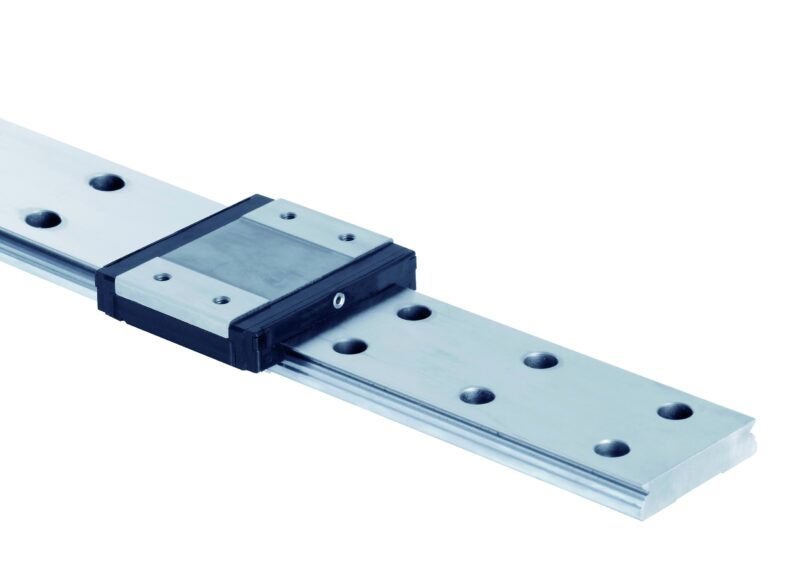
Skipping and avoiding the potential issue by not testing it will result in pure ignorance. Linear guides need to be tested over and over again after assembly. You could face most issues with your push-force and the misalignments of the friction. If you do the testing and you notice that the push is at twenty or twenty-five percent over the full distance of travel; a spike may indicate misalignment. Make sure that you invest a couple of hours and several tries and attempts when it gets to the testing phase, you will appreciate the time input, no matter the outcome.
6. You have an issue with rail parallelism
Did you know that the two-rail along with the four-rail designs are common installations and the most popular go-to linear tractions? You could also face an unnecessary load if your carriages are not aligned properly. You should get a machined reference edge for each rail. Without the right approach and your lateral retention, the rail mounting screws could lead to a sideload.
7. There is an offset between rails
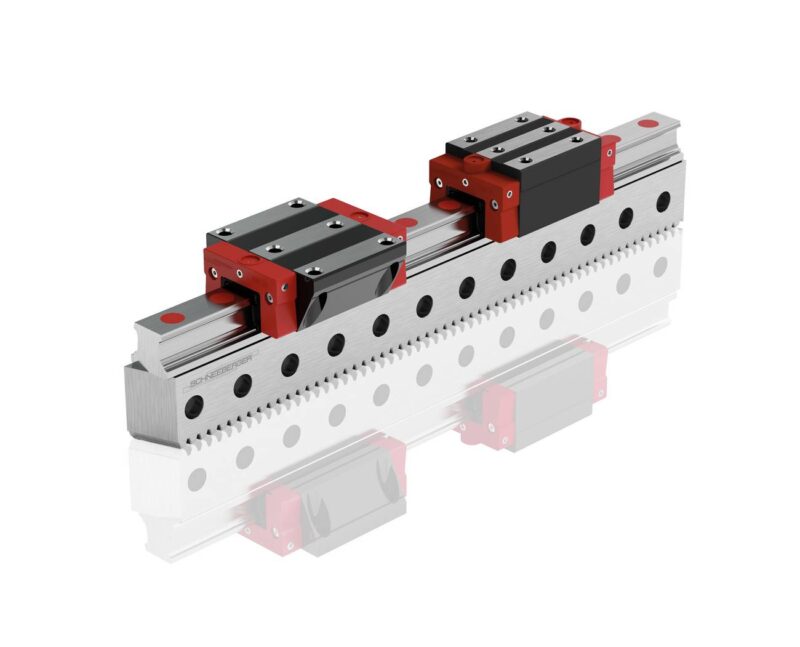
Are you working with two different rails? Well, two rails that are parallel to one another will adhere with ease. However, if your permitted offset is overstepped it could result in a shorter lifespan of the model, no matter how well in shape it may be. Yet again just know that if you are dealing with a high preload go for a small vertical offset. Take all of this into consideration before you make a judgment when it comes to your offset between rails.
8. You are dealing with a vertical offset between carriages
Lastly, you should be aware of their vertical placement and offset placement that is most visible in the four-rail design. Take their height into consideration and look into the height difference. Is it quite big and noticeable, or is it only a minor difference? If you notice that a vertical offset is high, go for the right length (yet short) carriages. Don’t forget to pay close attention to your foundation and edges tightening since these can also be improperly set up.
In need of some help & assistance?
In the end, do you feel like you need a bit of help or assistance when it comes to your linear guides? Not too sure how to approach each & every issue that we’ve already mentioned and listed in this article? Well, you should take a look at Tuli since they have the best economical alternative to conventional miniature linear guides! Their product Mini Rail requires little maintenance, is dimensionally interchangeable, and is available in different sizes and lengths of up to 3600mm. Enjoy their lightweight aluminum as well as the corrosion resistance, ideal for everyone’s practical use.


