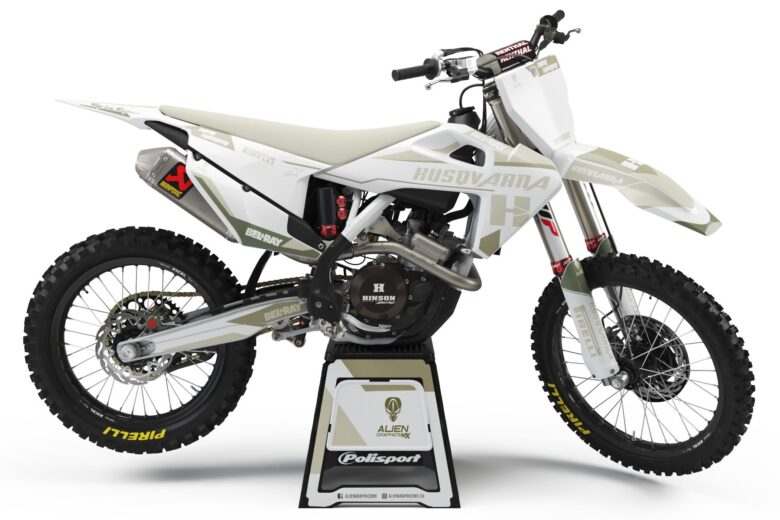
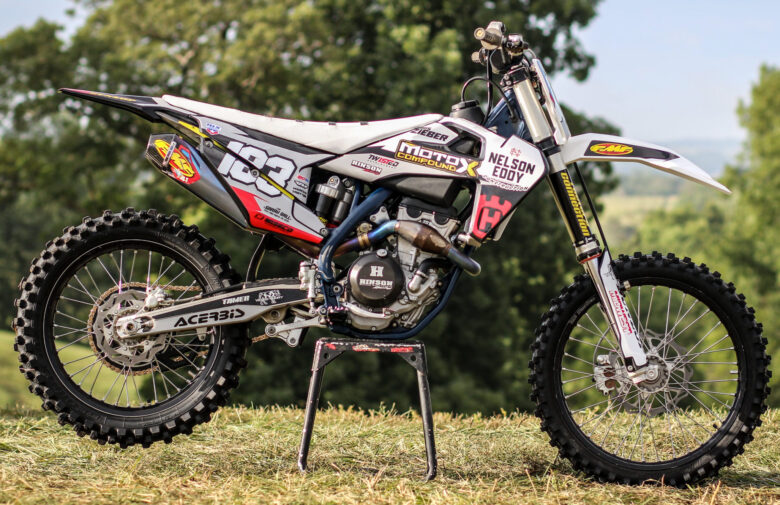
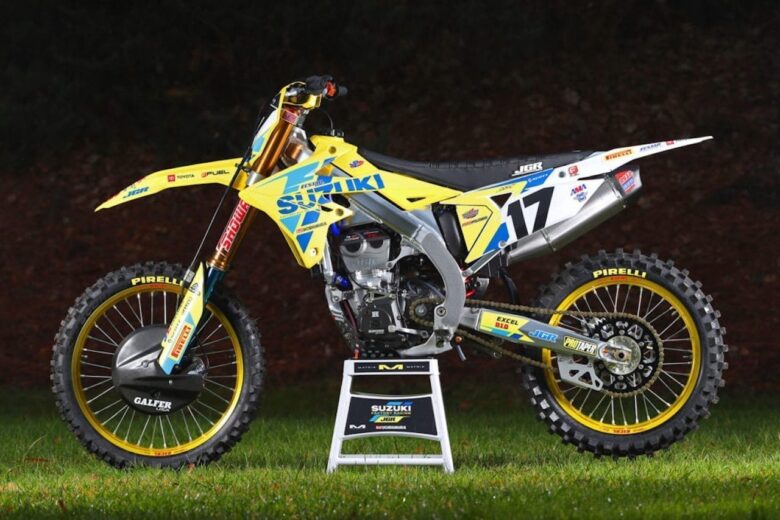
Stickers and graphics for a dirt bike are not just for aesthetic appeal. They also serve a practical purpose of protecting the plastic parts. This article provides a few pointers on how to choose motocross graphic materials and how to apply using a ready-made kit.
Dirt Bike Graphic Design Made Easy with Online Configurator
Did you know you can pick a logo from a database of hundreds of outstanding sponsor logos and install it anywhere on the bike using a custom graphic kit? A graphics configurator offers a distinctive experience that simplifies the decal work with the new MX graphic kit. The cool feature of the online configurator at www.sengegraphics.com enables you to design what you need no matter where you are.
Thanks to a graphics configurator, sending custom graphic kits to motorcyclists has moved a higher notch. The mobile tool accommodates hundreds of motorcycles and thousands of sponsor logos. A zoom feature allows you to zoom in/out 3D designs from any side of your motocross. Want to make your bike look like your favorite rider or team when you hit the trails? The options are endless, but you need to know exactly what to look for.
What to Consider When Choosing Motocross Graphics Materials

One of the most reliable materials for MX decals is vinyl. When combined with laminate, vinyl produces everything required to print stickers and other decals for dirt bikes. The base media and sticks perfectly on any surface, including plastic and metals. UV inkjet printers, eco-solvent, solvent, or thermal transfers can create thick durable vinyl decals. An excellent shelf life prevents oozing of the adhesive or shrinkage at the edges, so you’re assured of durable stickers, number plates, and shroud graphics.
Before you pick any materials for motocross decals, take these things into account:
- Durability and resistance to abrasion
- How well it can stick to plastics and other hard-to-stick surfaces
- Conformability to the bike curves
- Shelf life (two years and above)
- UV inhibition
- Ease of application.
The laminate must have the right adhesive to keep it from coming apart. It should be soft and malleable so it can fit into the bike’s layout. A laminate that shapes up easily is the best material for curvy number plates like those on the pipe side for small motorcycles. Some glossy laminates may have a high abrasion resistance, but they are less conformable, hence not ideal for MX decals. However, when treated with a heat gun, they become pliable so they wrap well on sharp curves.
Another added advantage is a rough texture because it allows traction and good grasping. If you are a rough rider, try to put on some knee braces since you will rub hard against shrouds. Some media come in a combo kit to help you save money. For example, base materials like vinyl come in many forms of construction. Together with laminates, they are most suitable to apply over surfaces of power sports gear, helmets, and modern bikes. Since they come in short rolls, you can choose what suits you best.
How to Apply a Motocross Graphic Kit

You need to have the necessary tools including:
- Hot air dryer
- Medium for degreasing, like a brake cleaner
- Scissors
- Lint-free cloth or household roll
- Plastic squeegee
Prep the surface: The worst place you can apply an adhesive film is on a dirty and oily surface. If you are working in a cold or dirty workshop, consider changing the environment before working on your dirt bike. If there are scratches and dents, smooth the surface before proceeding. Fine emery paper is perfect for smoothing.
Thoroughly Clean to Remove Any Grease or Dirt : Use a degreasing agent and a plastic squeegee to cleanse the surface. Degrease the plastic parts, whether new or old. Silicone residues tend to remain on new parts. You can begin the application on the light matt surfaces. Be sure to clean your hands when doing the job. Degrease all components and then proceed to another part and follow suit.
Apply the Graphics: A good rule of thumb when applying bike decals is to stick outside from the middle. Use the carrier film and peel off a strip in the middle, about 1cm or 2cm. Then, peel off the two remaining halves of the film and stick them to the graphic. Make sure that the graphics align on the plastic parts. First, use half of the carrier film and work outwards from the center. This should be easy on flat surfaces. But, where there’s an air bubble, reinstall the decal by loosening the piece to eliminate the bubble.

It gets tricky at the corners and edges, and this is where the hot air dryer comes in handy. Simply heat the sticker using the air dryer to make the material more pliable and easier to shape. Take care not to overheat the graphic or destroy it. Also, be careful not to use an air dryer near a fuel tank or carrying lines. When not sure of the amount of heat to apply, test the heat amount on an old graphic kit. Then you will know how much heat the plastic can tolerate. Do not worry too much because you will know when the material is soft enough to work on.
Finishing: To the last bumps on the edges of the adhesive, add some heat and firmly press down with a squeegee. Run some hot air on the entire graphic to warm it up again. Pay more attention to the curved parts, and press firmly to allow the adhesive to take its best form. At room temperature, leave the bike for 24 hours and check the following day to determine if it needs some touch-ups.
As you can see, it is now possible to give your bike that fresh look it deserves. With an online configurator, you can create a motocross graphic design without worrying about proofs and designers. Whether it is a dual-sport motorcycle or an off-road model, there’s a plethora of gradients, patterns, and colors to choose from. Even better, you can customize the graphic with a unique name or number.


