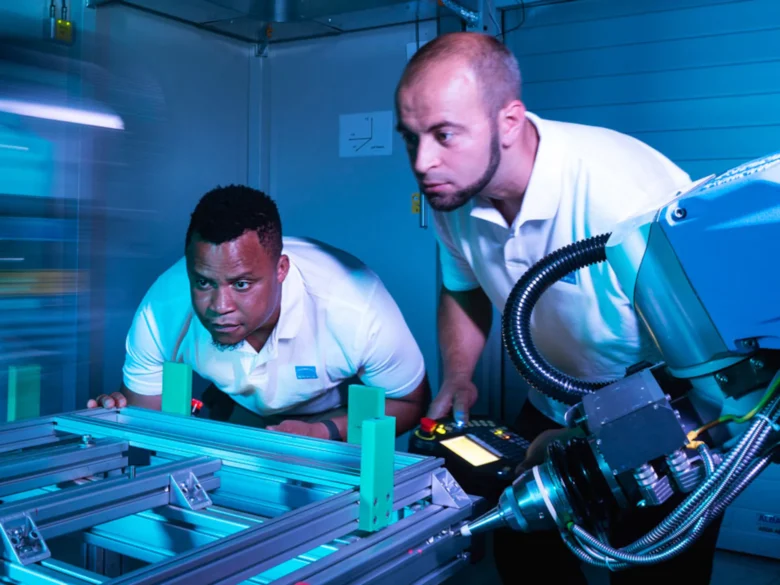
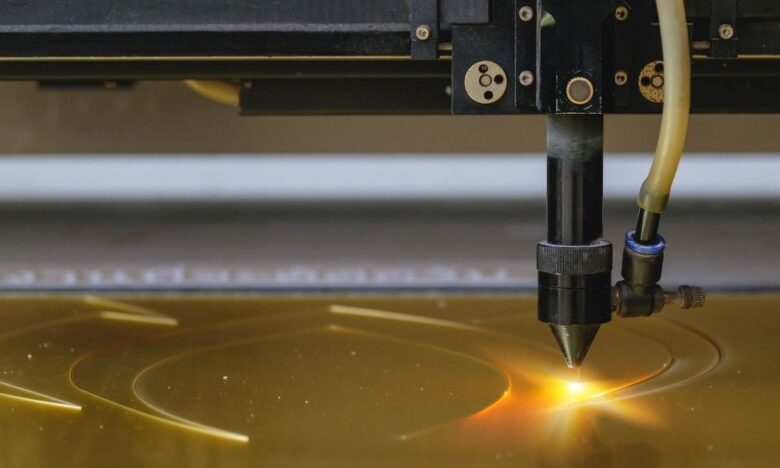
Laser-cutting machines have revolutionized the manufacturing industry, offering unparalleled precision, speed, and versatility. These high-tech devices use a focused beam of light to cut or engrave materials with extreme accuracy. In this comprehensive guide, we will explore the fundamentals of laser technology and provide step-by-step instructions for using a laser-cutting machine in your next project.
Choosing the Right Machine for Your Project
Selecting the right laser-cutting machine for your project depends on several factors, including the material you plan to cut, the level of detail required, and your budget. First, consider the type of laser. CO2 lasers are suitable for cutting and engraving non-metallic materials like wood, acrylic, and leather. Fiber lasers are ideal for cutting metals like steel, aluminum, and brass.
Evaluate the power of the laser. Higher-wattage beams like ThunderLaser can cut through thicker materials at faster speeds. However, they also consume more energy and can be more expensive to operate.
Assess the machine’s cutting bed size to ensure it accommodates your project’s dimensions. Lastly, consider the machine’s software compatibility, ease of use, and available customer support.
Preparing Your Design

Before using a laser cutting machine, you must create a digital design file compatible with the machine’s software. Vector files, such as .AI, .SVG, or .DXF, are commonly used as they allow for easy scaling and editing. When designing your file, consider the following tips:
- Outline all cut lines using hairline strokes to ensure the laser only cuts along the path.
- Specify engraving areas with different colors or layers, enabling the machine to differentiate between cutting and engraving operations.
- Use consistent line thickness and spacing to avoid errors or uneven cuts.
- Optimize your design for minimal material waste by nesting parts close together.
- Include test shapes in your file to calibrate the machine settings and ensure optimal cutting performance.
Once you have completed your design, import it into the machine’s software for further adjustments and processing.
Setting Up Your Machine
Proper setup is crucial to achieving successful laser-cutting results. Follow these steps to set up your machine:
- Turn on the laser cutter and connect it to your computer.
- Open the machine’s software and import your design file.
- Set the appropriate cutting parameters, including power, speed, and number of passes. These settings vary depending on the material and desired cut quality.
- Adjust the machine’s focus by placing the focus tool on the material and moving the laser head until it touches the tool. This ensures the beam is correctly focused on the material’s surface.
- Place the material on the cutting bed, ensuring it is flat and secure. Some machines have adjustable clamps or a vacuum bed to hold the material in place.
- Perform a test run by executing the machine’s “dry run” or “outline” feature. This traces the design on the material without cutting or engraving, allowing you to verify the design’s position and size.
- If necessary, make adjustments to the design or material placement before proceeding with the actual cutting.
Safety Precautions

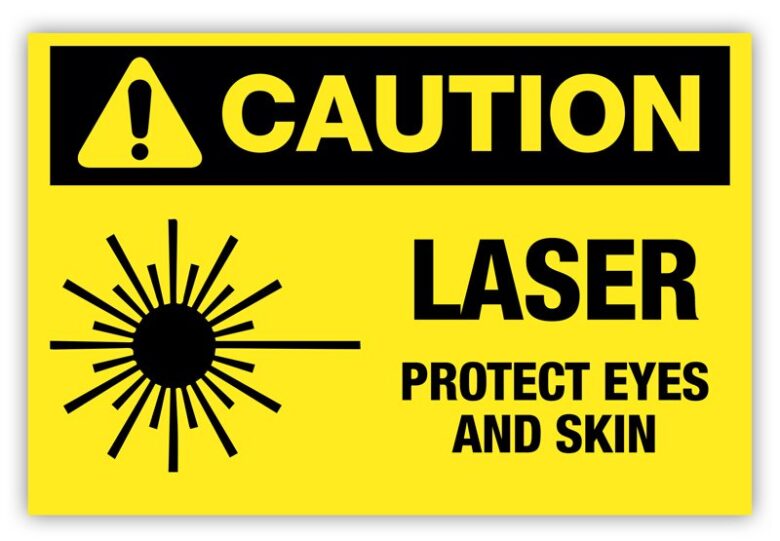
When operating a laser-cutting machine, it is crucial to be aware of potential hazards and adhere to safety precautions to avoid accidents and injuries. Wearing proper personal protective equipment (PPE) is a must, including safety goggles specifically designed for laser protection, heat-resistant gloves, and a dust mask. It’s essential to make sure the machine is correctly grounded and connected to a dependable power source to minimize the risk of electrical hazards.
Keep any flammable materials away from the cutting area since the laser-generated heat could cause combustion. To eliminate harmful fumes and particles produced during the cutting process, utilize the machine’s built-in ventilation system or an external exhaust fan. Never leave the cutter unattended while it’s operating, and always be ready to use the emergency stop button if required.
Regularly inspect your laser cutting machine for signs of wear or damage, and address any issues promptly. Adhering to the manufacturer’s guidelines for maintenance and operation is key to ensuring the machine’s optimal performance and longevity.
Troubleshooting Common Issues
Laser cutting may present some common problems, but there are potential solutions to address them. For incomplete cuts, you can increase the power, reduce the cutting speed, or add more passes. To eliminate burn marks, consider decreasing power, increasing cutting speed, or applying masking tape to protect the material’s surface.
In the case of uneven cuts, inspect the cutting bed for debris or unevenness, ensure the material is flat, or adjust the laser’s focus. If you experience inaccurate cuts or a misaligned design, double-check the design file for errors, adjust the material’s placement, or calibrate the machine’s axis alignment.
To tackle excessive smoke or fumes, clean the machine’s lenses and mirrors, enhance the ventilation system, or try using a different material. If issues persist, don’t hesitate to consult the machine’s manual or contact customer support for further assistance.
Advanced Techniques

As you become more proficient with laser cutting, you can explore advanced techniques to enhance your projects, such as:
- Multi-pass cutting: Perform multiple cutting passes at lower power settings to achieve clean, precise cuts with minimal heat-induced damage or burn marks.
- Variable power engraving: Adjust the power during engraving to create depth variations and shading effects.
- 3D relief engraving: Combine multiple layers of engraving with varying depths to create a three-dimensional effect.
- Kerf bending: Design and cut strategically placed slits in the material, allowing it to bend and form curved shapes.
- Inlaying: Cut complementary pieces from different materials, then assemble them to create a seamless, flush design.
Conclusion and Next Steps
Laser-cutting technology offers immense potential for precision, speed, and creativity in various applications and industries. By understanding the fundamentals of laser cutting, choosing the right machine for your project, and following best practices, you can achieve impressive results and bring your ideas to life.
As you gain experience and confidence with laser cutting, consider exploring advanced techniques and applications to further enhance your projects. Additionally, staying informed about industry trends and developments will help you maintain a competitive edge and adapt to new challenges and opportunities.


