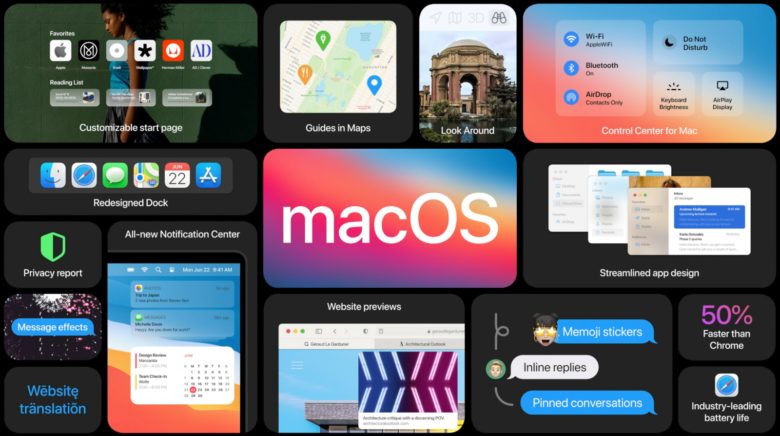
MacOS Big Sur that is also known as macOS 11, is the biggest update to macOS in many years, and it comes with a lot of major improvements and exciting features to enhance the user experience, including a major visual overhaul inspired by iOS, Safari enhancements, a new Control Center, widgets, an upgraded Messages app, and more.
In fact, everything looks different, so should you upgrade to the latest version now or do it later? What should you do to be ready for this big change? In this easy guide, you’ll find answers to all your questions and step-by-step instructions that will allow you to install macOS Big Sur on your Mac.
Upgrade Now or Later?
Source: 9to5mac.com
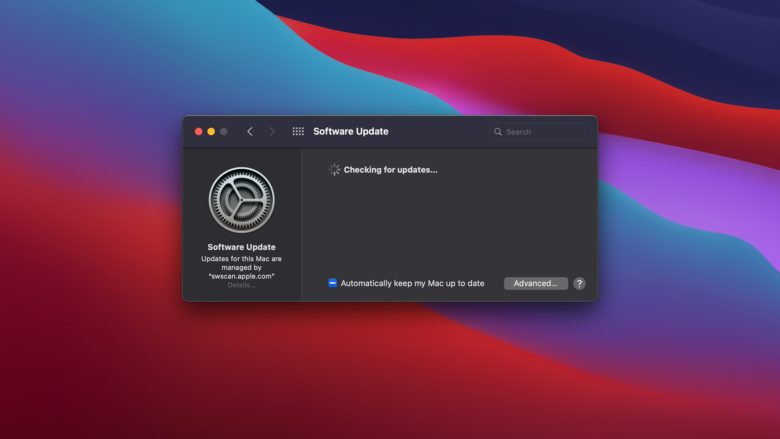
macOS Big Sur is available for download, but it’s good to consider whether it’s best for you to upgrade now. Any upgrade of an operating system comes with issues, and sometimes, devices may encounter problems. People who have tried Big Sur said that the system is stable, but many users prefer to wait for several weeks to ensure that any initial bugs and performance issues have been fixed.
It doesn’t matter whether you would like to upgrade right now or wait several weeks, first of all, you should be sure that your Mac is compatible with the new operating system. You can find the complete list of compatible computers on Apple’s website. If your Mac isn’t compatible with Big Sur, you’ll have to stick with Catalina.
And if you use any antivirus, firewall or VPN software to protect your security and privacy, you should also upgrade them to the latest updates before you install macOS Big Sur. Besides, you should check out if any hardware drivers that you rely on are compatible with Big Sur. You should check that the drivers have been updated to be compatible with macOS Big Sur if you use a printer, a scanner, or a RAID storage device.
What Upgrade Method to Choose
Source: 9to5mac.com
There are 2 ways to upgrade your Mac, and the simplest one is to install the new files over your existing operating system by running the macOS Big Sur installer. Another way is to download and install the new operating system onto the erased drive. This method is a little tricky, but it is more preferable because it allows you to get rid of persistent issues, and the new operating system performs faster.
A clean installation is rather time-consuming, but it will allow you to experience a new operating system at its maximum potential. If you want to download and clean install macOS Big Sur, you should follow these steps and tips.
Back Up Your Mac
Source: apple.com
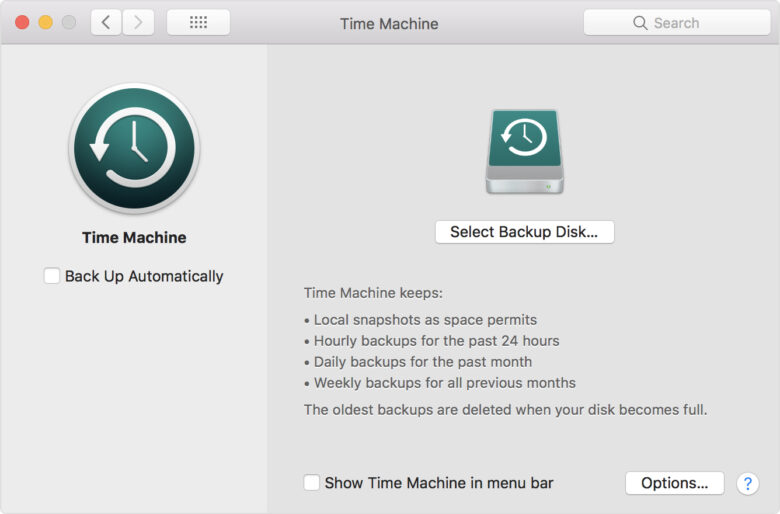
The clean install method will wipe your drive clean, so you’ll lose all your documents, photos, apps, and other files and settings. That’s why before you move forward, it’s critical to back up all your data. Actually, it should be your next priority. You can easily do it using Time Machine. This tool is a built-in feature of your Mac. Besides, you’ll need an external storage media with a capacity that is bigger than your current system.
Here is what you should do. Go to System Preferences and choose Time Machine. Then you need to connect your external drive and select it as your backup disk. After you do that, Time Machine will automatically make backups.
Download macOS Big Sur Installer
Source: wikigain.com
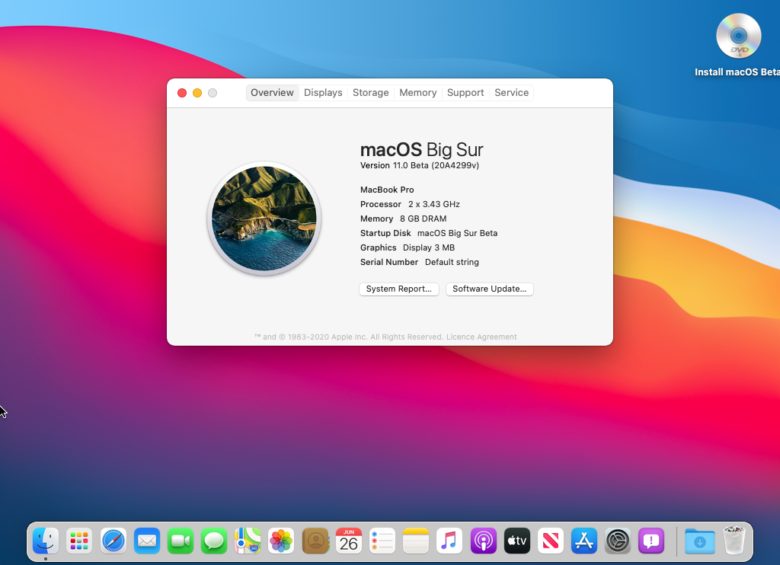
There are 2 ways to download macOS Big Sur. You can get it from App Store, and it is also available in the Software Updates panel in System Preferences. When you find it there, you should click the Upgrade Now button.
You will need to wait for some time before the installer downloads to your Mac because the update is about 12 gigabytes in size. After that, you’ll be able to see the intro screen of macOS Big Sur. After the download is complete, you should close this window by selecting the option Quit Install.
We won’t continue the installation right now. So you only need to be confident that the installer app is stored among your applications.
Create a Bootable USB Installer
Source: arstechnica.net
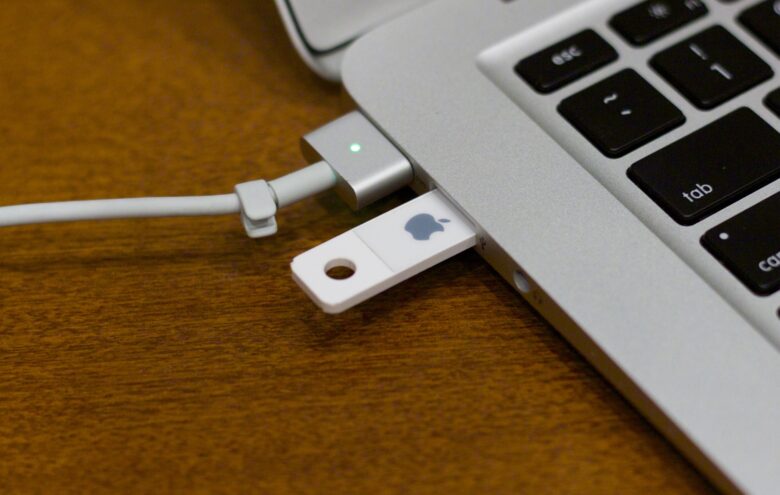
Now you’ll need another USB flash storage drive with at least 16 GB of storage space. You should connect it to your Mac.
First, you need to wipe the USB drive clean with Disk Utility. Go to the Applications folder, choose Utilities, and then Disk Utility. After that, select the USB drive from the list and click Erase in the top menu. The drive should be named as Untitled and formatted as Mac OS Extended (Journaled).
Now you need to go to Terminal in the Applications folder and take some steps to turn your USB drive into a bootable device. You’ll have to type a certain command and your admin password. After the process has been completed, the drive will be ready for the installation of macOS Big Sur.
Install New macOS Big Sur
Source: slashgear.com
So it’s time to say good-bye to your current operating system. After inserting the USB drive into your Mac, you’ll need to restart it and choose Disk Utility from the menu. Then, you should select your main startup drive and erase it completely by clicking the Erase button.
Finally, you can clean install Big Sur from the USB installer drive. You should go to the Utility page and choose Install macOS. Then you should click Continue, selecting the disk that you have formatted, and follow the onscreen prompts to complete the process. You should check the update regularly to see whether Apple wants you to make any decisions. When the installation process is completed, your Mac will restart automatically. You should also keep in mind that even if your Mac supports the new operating system in general, certain features may not work. You can learn about the features available for different models if you visit Apple’s website.
It’s important to stay up to date with your upgrades. You’ll be notified when the updates to macOS Big Sur are released. You can learn about them by using Software Updates in System Preferences.
