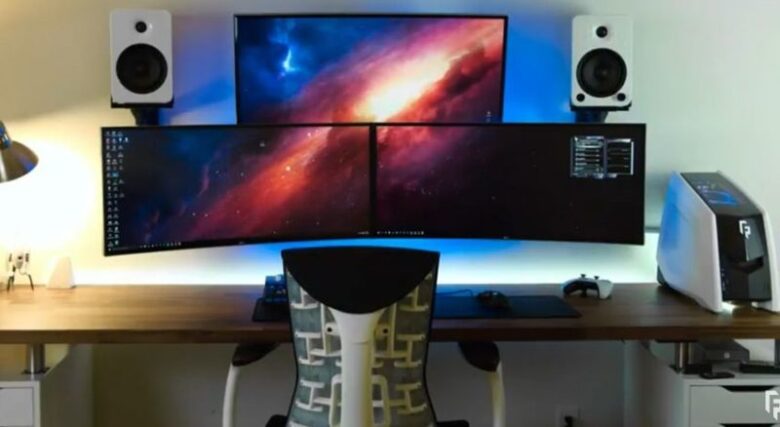
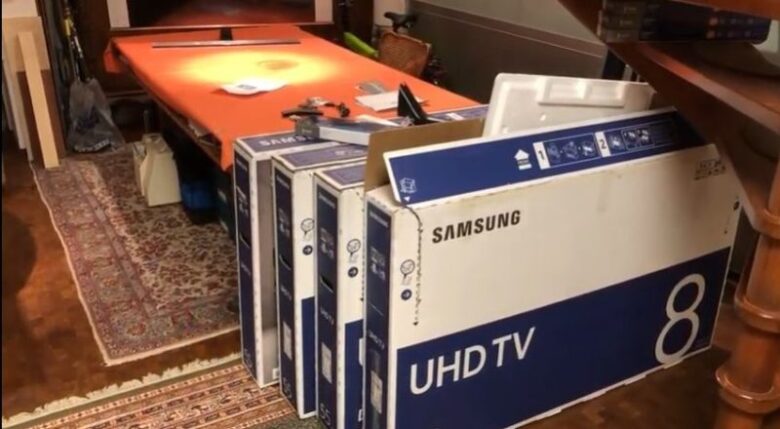
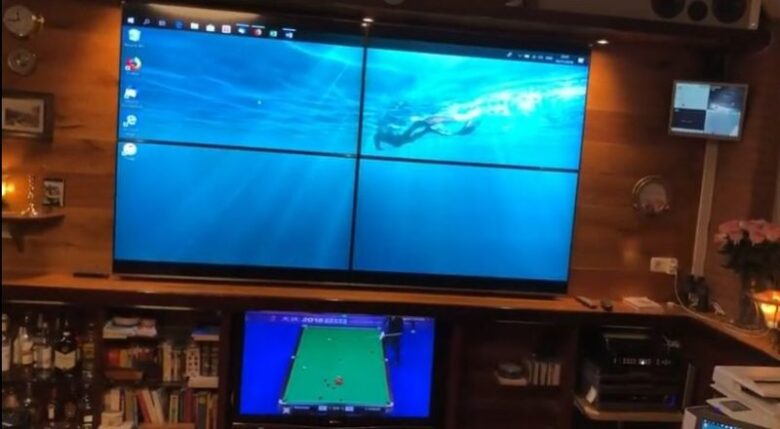
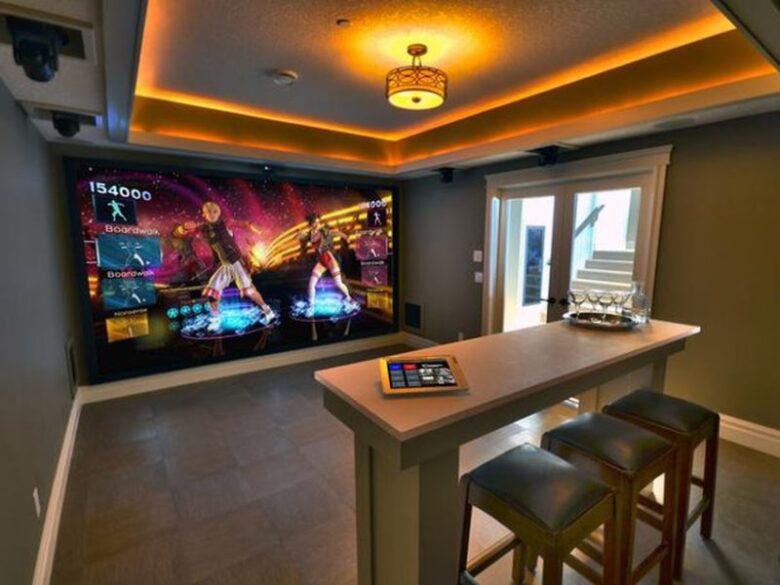
Having a video wall for gaming is the stuff of dreams for any gamer. But it might seem like an impossible dream, not so! Building your very own gaming video wall is a possibility with a little bit of thought and planning.
In order to obtain the most immersive gaming experience tuned to your preference, there are only a few easy steps to take and you’re on your way:
Step 1: Planning

Determine a layout that effectively details your project from start to finish. In your layout, you can include a realistic budget, spacing, and positioning of your hardware, as well as your preferred conditions for the complete setup.(Such as lighting in the room, the physical location of the screens in your home, etc.)
In terms of spacing and positioning, ensure that you match the size of your desired screens to the size of your preferred playing area. Acknowledge screen features such as the aspect ratio and consider whether you prefer a consumer or commercial monitor. Consumer monitors are often cheaper and can offer a more affordable approach to building a gaming wall for experimentation purposes.
However, consumer monitors are less compatible with digital signage and are less likely to properly display digital images. Commercial monitors are recommended because they provide LED support but are often more expensive.
Step 2: Purchasing the equipment
Although the screen preference is entirely the choice of the gamer, I highly recommend purchasing screens that are high in quality (approximately 720p to 1080p ideally) and are of the same model.

A decent frame rate and quick refresh speeds are essential to further optimizing your setup. Keep on the lookout for monitors with 60 fps (frames per second) and a refresh speed of approximately 120 Hz to 144 Hz. In order to ensure that your system will perform optimally, you will need a high-quality graphics card to handle the processing requirements that come with all of the other pieces.
Step 3: Setting and positioning your hardware
Assembly is the next part of the process towards your ideal gaming experience. You will need to find wall mounts that are appropriate for the size of your screen, the dimensions of the wall itself, and for modification purposes. Some monitors have built-in wall mounts, however, if your desired screen does not, monitor wall mounts are readily available for purchase at Amazon.com.

Constructing a mount is also an available option that could potentially be more affordable depending on the brand. In this case, I would recommend purchasing the services of a professional home installation company, as should definitely try to avoid damaging your devices. After mounting your screens comes the process of configuring your setup.
This consists of ensuring that you have all the appropriate wires in the right place. I recommend using HDMI cords as they are the most common monitor connecting wires and they are incredibly easy to use. I also recommend purchasing a video wall controller (see Userful for more info on that) to more efficiently connect all of your monitors together without the hassle of various wires.
Step 4: Configuring software
There is a myriad of software that make configuring your monitors together simple. Some of these softwares include “Eyefinity” and “Mosaic”. I recommend utilizing enterprise software. If the primary operating system for your PC is Windows, you have the option of using the “OnSign TV” software.
Step 5: Pat yourself on the back because you did it!
Thank you for reading and enjoy your new gaming setup.


