Did you know that the average costs of a basic garage door are around 2.000 dollars? If you are on a tight budget, that is quite high. Well, in this article, you will be able to learn how to make a DIY garage door for around $350. Let’s take a look at the steps:
Step 01: Ensure That You Have the Proper Tools and Materials
For making a garage door, you will need the following tools and materials:
The Materials:
- 2X4 lumber
- Screws
- Door hinges
- 4×8 wooden panels
- Support brackets
- Gate handles
The tools:
- A woodcutter
- A hammer
- A drill
- Tape measurements
- Pencils
Check out www.diy-garage-door-parts.com, if you want to see what additional things you can purchase for your DIY garage door.

Step 02: Your Options
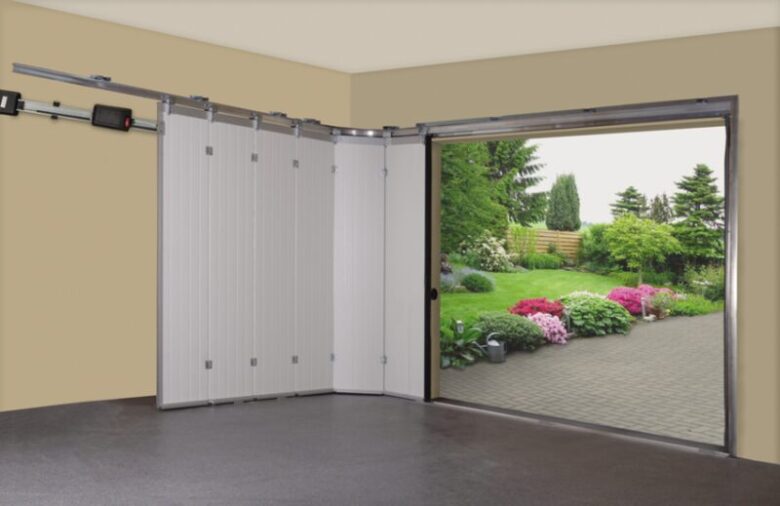
The first thing that you would need to do is to decide on the type of garage door you want to build. You can choose a roll-up door, however, this one will need your garage to have height. There is also an option of a sing out design, which works for everyone since it does not take a lot of space.
Step 03: The Plan
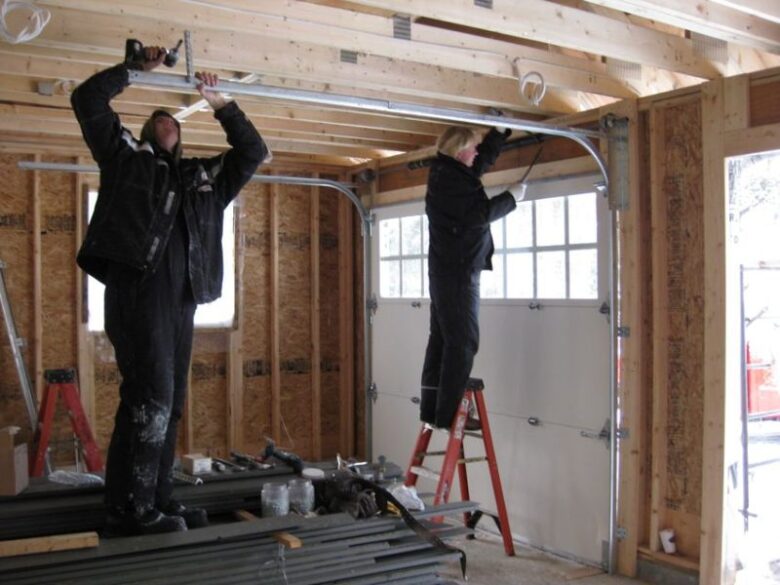
Depending on the size of the opening, you may need to divide it into 2 or 4 sections. If you choose the four-section door, you will have two sections joined on each side and when you open the door, each one will fold out. If you choose two sections, there will be no folding. The plan is to build a frame from 2x4s. You will cut these into smaller boards and you will place the rollers on the bottom boards. Then, you will fasten the panel board onto the frame and then the hinges by using screws.
Step 04: The Allowances
While you take the measurements and planning the frame, you should leave spaces for the door section to swing freely. There should be around ¼ inches of space between the upper studs and the frame, and around ½ inches between the lower studs and the ground.

Step 05: Install the Doorposts
If the garage opening does not have doorposts, you will need to build some. Also, they will need to go all around, except at the bottom. If there is concrete around the opening, you should consider drilling holes into the wall where the supporting screws will go.
Step 06: Create the Doorposts
Use the tape measure to measure the opening and cut studs of appropriate size from the lumber you purchased. Fasten the brackets on the horizontal studs, ensuring that you leave 3.5 inches of space from the edge. That space is where you will place the vertical studs. Mark out spots where the hinges will be installed on the frames. Then, install the top and bottom hinge. If you did everything right, the frame should fit perfectly into the opening. However, if it does not fit, simply take it out and make adjustments to it.
Step 07: Attaching the Boards
This part is quite simple. In order to attach the boards, take off the doors, place them on the ground, and screw or nail the panels onto it. Try fastening the panels onto the frame by using as many screws or nails as possible (but do not overdo it), to create a sturdy door.
Step 08: Attach the Door to the Posts
Position the doorpost and place a ½ inch scrap under it so that it is slightly lifted from the ground. Place the door under a 90º angle, screw in the hinges.

Step 09: Decoration
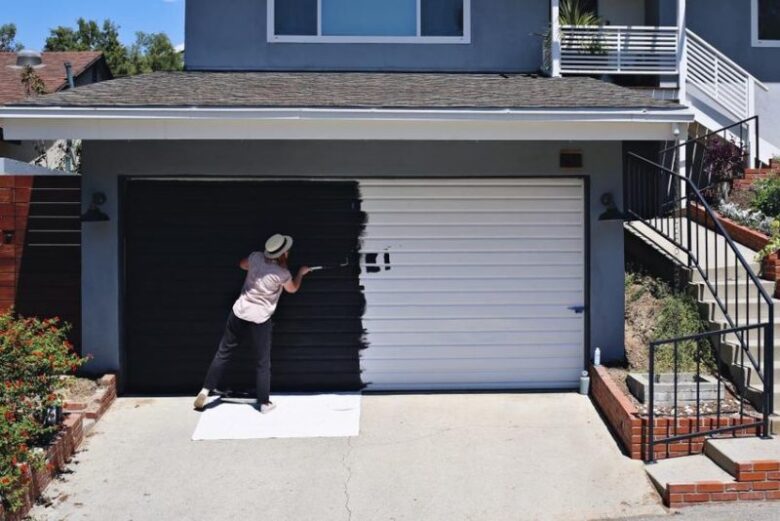
This step is not necessary since it is just for decorative purposes, but if you want it to be a bit more elegant, it is important. Get some trims and nail them vertically on the garage door, with the shorter trims connecting the vertical trims at different heights. Before you finish everything, do not forget to screw on the handles.
Conclusion
As you might have noticed, you can make a garage door with no or little carpentry skills. Hence, if you have been thinking about making a garage door, do not waste any more time and use this guide to help you through the process!


