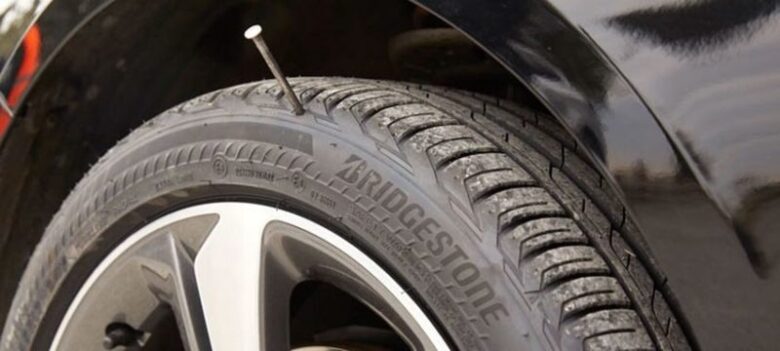
The ability to change a flat tyre is something that no motorist should really be without. While the idea of partly disassembling your car (most often at a roadside, in less-than-ideal conditions) might seem daunting, there’s no reason that you shouldn’t be able to do it. We’ll run through the process here, step-by-step.
Seek a Flat Surface

While driving on a flat or punctured tyre is a bad idea, changing that tyre on an incline is worse. You’re going to be raising one end of the car; the last thing you want is for the entire vehicle to roll away from you. Similarly, you’ll want to be out of the way of passing traffic.
Prepare the Car
You should find a big red triangle sign in the back of your vehicle. You can set that up a few metres behind the back of the car. Get any excess weight out of the car – that means luggage, as well as passengers.
Take Stock

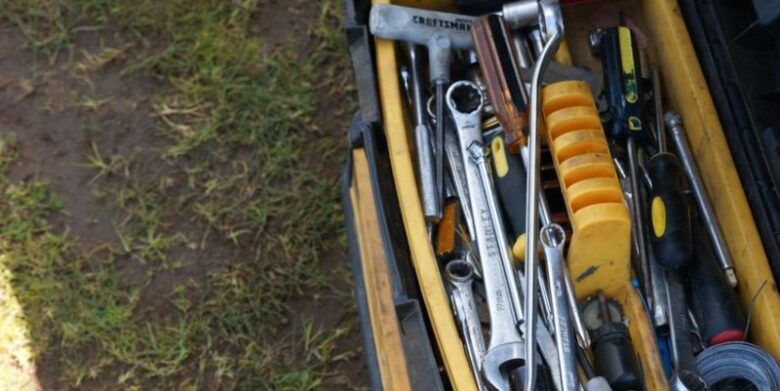
Before getting started with the change, take stock of your tools. If you don’t have the following, you’ll be unable to complete the change – so don’t start it:
- A spare Wheel (fully inflated)
- A Wheel Brace
- A locking wheel-nut key
- A jack
If you’re doing this at a roadside, then you’ll also want to wear something that’s visible – a hi-vis jacket is ideal. Not all jacks are built alike – so get a quality one from a reputable manufacturer like SGS Engineering for an easier life.
Loosen the bolts
Remove the covers from the wheel bolts and loosen them slightly before you jack the car up. This will require a little bit of force to begin with. One of the bolts may require a locking wheel-nut key.
Jacking Up

Find the jacking point on the bottom of the car. If you’re unsure, consult the manual. Get the jack beneath it and raise it until the entire thing touches the floor. Jack the car up until there’s enough distance beneath the wheel to get the inflated replacement on. Bear in mind that inflated tyres are fatter than flat ones.
Remove the Wheel
Having loosened the bolts, you’ll be able to remove them by hand and then lift the entire wheel off. Set it to one side.
Replace the Wheel
Now we’re going to put the new wheel on and affix the bolts one at a time, by hand. Once you’re gotten them all installed, you can tighten gently using the wheel brace. Don’t replace the covers yet.
Lower the Jack
It’s now time to lower the car back to the road surface. Do this slowly and gently, and remove the jack only when it’s no longer taking any weight. Next, it’s time to perform one last tightening of the bolts and replace the covers. You’re done!
To decrease the risk of flat tires you need to have good ones. If you ride a 4runner it is not as easy as it is described in this article to change the tire. For that reason you need to have good quality tires. Check here to find right tires for your 4runner.


