Printed Circuit Boards are of huge importance in a world powered by digital technology. So many devices that we use in our everyday life are brought to life by the use of these same circuit boards we’re talking about, but I feel like not many people are aware of this yet.
Anyway, not everyone is meant to be a technology expert so it’s fine for a person to not understand hardware so well. This article is dedicated to those who are already into manufacturing electronic products. As most of us know already, prototypes are very important to have before getting a huge batch of your product on the market.
However, even for prototypes, you need a lot of attention to detail, as it’s important to show the potential of your product to investors and possible future partners, as well as your customers of course. In today’s article we’ll talk about choosing the correct thickness for your PCB Prototypes, so if you are eager to learn more on this topic, now’s the right time to do so. Let’s take a look.
1. Consider the current standard for PCB thickness

One of the best tips that I can give you that applies to anything related to PCB manufacturing, is following industry standards. Doing so will save you the most money and you won’t have to deal with any additional issues which are completely unrequired. If you want fancy boards that will result in waste materials during fabrication, you’ll be paying more. Nothing wrong with the traditional, industry-standard rectangular footprint. The most important thing is to make sure you’re not having any unused space on your board. This will make your device larger than it needs to be, which is already a no-no in a world where people are looking forward to buying smaller and smaller electronic devices.
The “traditional” standard for PCB thickness is 0.063 inches, which translates to roughly 1.57 millimeters. However, the “modern” standard ranges between 0.0008 inches up to 0.240 inches. The result for this is a product of the multi-layer PCB usage implementation in the industry. After all, it’s worth mentioning that every product has a different purpose, and so the thickness of your board needs to be based on that, but following standards as much as your idea allows you is good because it saves money.
2. What type of material you’ll use for the PCB build?
Using terms such as FR-4 or FR-2 will only confuse the beginners, so I’ll try to be as detailed as possible when it comes to these things. The most popular material type that people use nowadays for the creation of printed circuit boards is Glass Epoxy. When I say FR-4, that means Flame Retardant, and the number, which is 4 in this example, is an indicator for flammability. There are, of course, other materials that people use for their special PCB builds. Some examples include polyimide, Teflon, PEEK, and others. Your material choice will influence the thickness of the printed circuit board. For more information on this, you can always take a look at pcbonline.com, a website with a lot of useful resources regarding printed circuit board prototypes.
3. How many layers are you going to use for your PCB?

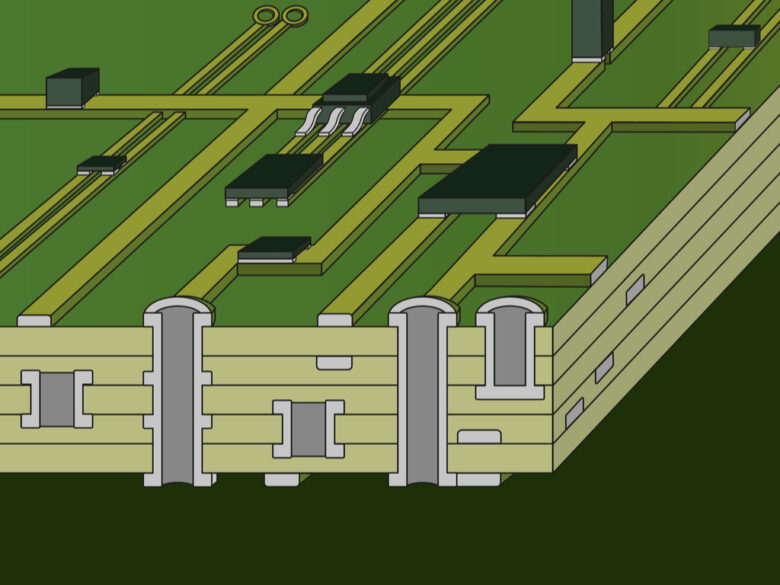
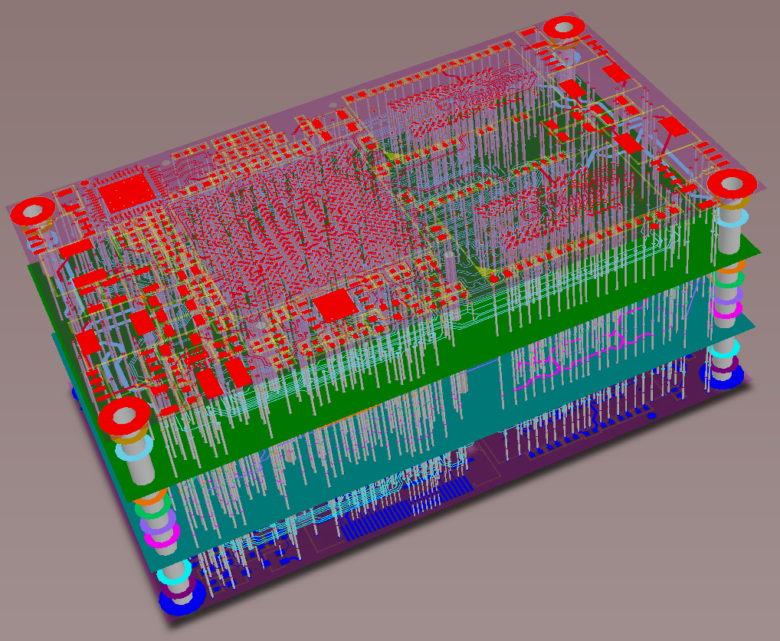
The more layers of materials you’ll use for the PCB, the thicker it will become. This is pretty obvious but still worth mentioning as different types of electronic gadgets require different types of printed circuit boards. With our technology advancing at such a fast pace, needs are changing and new requirements are out there on the market.
The lower amount of layers you have on your printed circuit board, the less complex it is, or should we say, the simpler it is. This is done through fusing, and usually, the standard for this is copper-clad boards.
4. What will your plating finish be?
Adding a plating finish to your printed circuit board is a really useful technique that protects the already-exposed copper surfaces. This also increases the overall quality and sturdiness of the printed circuit board, but unfortunately, it increases thickness. Depending on what your goal is, you should or shouldn’t use a plating finish, even though we feel like in most cases it’s better to use. When it comes to plating techniques, multiple different ones are chosen based on the type of project, but the most common one is called Hot Air Solder Leveling, or the short term for it being HASL. Another famous one is Electroless Nickel Immersion Gold Plating or ENIG. The latter costs a bit more but it provides better results in terms of boosting the PCB’s resistance to oxidation and other similar factors as well.
5. Will the final product in which the PCB is included be prone to falls, hits, or damage?

The thicker your printed circuit board is, the less prone to damage it becomes. We all know that electronics should be kept safe and always far away from any risk of fall or bend damage, but these things do happen in real-life and customers sometimes get mad when their device bends and the PCB breaks completely. This is one hundred percent of the cases means that you’re now left without the device, as a broken PCB cannot be fixed, only replaced. If you think that your product has a higher risk of breaking, perhaps a larger thickness for your PCB is a good solution.
Conclusion
Manufacturing a printed circuit board is not an easy thing to do. You’ll need a reputable manufacturer, the perfect blueprint, as well as a promising prototype that will bring attention to your project. One of the key factors for success is choosing the correct thickness for your PCB, and the best ways of doing that are listed in the article above. Feel free to check out what we covered in this piece, and we’re more than thankful for the time you took to read this article. Take care.


