Every hydraulic system requires regular maintenance to ensure optimum performance and operational efficiency. Necessary maintenance checks can prevent untimely breakdowns which are inconvenient and costly. This article will outline the nine steps every hydraulic operator needs to perform regularly to maintain a hydraulic system.
Step 1: check hydraulic fluid level

The hydraulic fluid is responsible for distributing pressure and producing power within the system. Every hydraulic power pack uses a specific type of hydraulic fluid. If the fluid dips below the recommended level, you need to add more as needed. Be careful not to mix different types of hydraulic fluids, as every oil has a different viscosity.
Step 2: check filters, screens, and breather caps
Filters remove contaminants which may damage the hydraulic system. Make sure that these filters are not clogged or damaged. If needed, replace filters or clean clogs for efficient operation. Suppliers like www.hydraproducts.co.uk stock parts and other accessories required in keeping a hydraulic system in top condition.
Step 3: Conduct a visual assessment of hoses and pipe connections
Check pipes and connections for frays, leaks, and chaffing. Leaks are a common problem with hydraulic systems, which need to be avoided at all costs. Excessive fluid leaks are not only hazardous to health but also the environment. Moreover, leaks indicate that there are more severe problems in the system that need to be addressed.
Step 4: verify system temperature

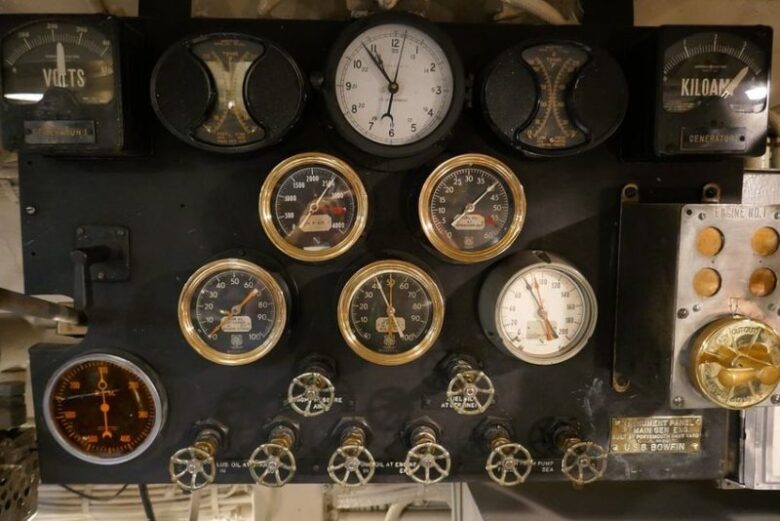
Hydraulic systems usually have built-in thermometers. If there is no thermometer, you can use a hand-held detector. The normal temperature range varies according to the specifications of the system. If you notice that the temperature is higher than usual, make sure that the cooler is operating correctly. You may also want to check the relief valve and adjust the setting if needed.
Step 5: check inside the reservoir
In checking the inside of the reservoir, you need to look for possible aeration. This condition refers to air bubbles carried along with oil traveling inside the system. You can easily spot aeration if there is foam inside the reservoir. To prevent aeration, watch out for air leaks, low fluid, too much viscosity, low temperature, and faulty seals.
Step 6: inspect the fluid

Take a small sample of hydraulic fluid and check the odor, color, and presence of contaminants. You may need to go beyond visual inspection since what you observe with your senses is limited.
Step 7: listen to the sound of the pumps
The sound of the pumps can indicate if there is an underlying problem. High-pitched sounds, gurgling, and whining should be checked extensively to prevent further issues with hydraulic performance.
Step 8: scan electric components
All electric components, such as valves also need to be scanned extensively. If the temperature of these valves is higher than normal, it is a sign of bypassing. If the operation becomes sluggish or the system shows jerking motion, the system may be contaminated.
Step 9: scan the motor

Whether you are using an electric or combustion motor, you need to examine the device for hot spots. Any severe signs of motor problems should be reported and serviced immediately.


