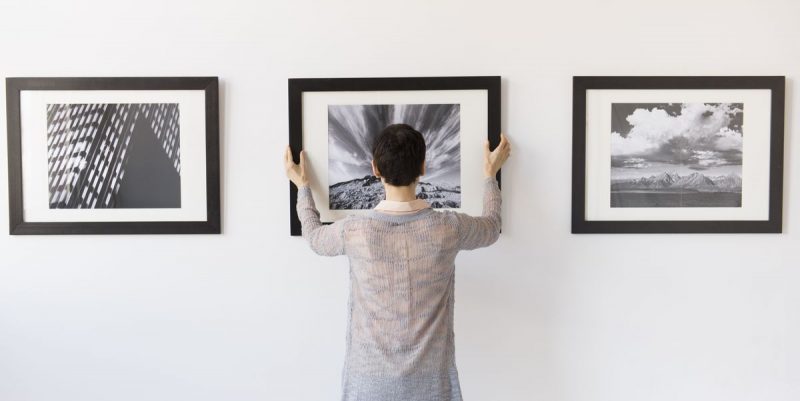
Summer is here and national lockdowns are slowly but surely winding down due to the success of vaccine programmes. Now it is finally possible to invite family and friends around to our homes again, and we’ve got the opportunity to do some showing off for the first time in forever. With barbecues and garden parties already booked in, it’s never been a better time to introduce some fresh décor to your living spaces. But if you don’t feel quite ready to crack open the tin of paint that’s lurking under a pile of junk in the garage, then refreshing the art you have on display is the next best thing.
Assess the space you have
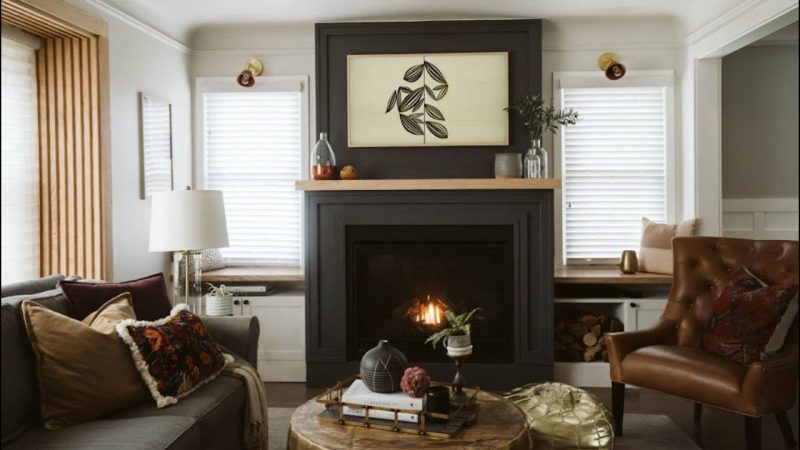
When you are thinking about the best place to hang your pieces, how it’s going to look is obviously the first priority. Think creatively because not everything needs to be mounted at the dead centre of a wall. Smaller pieces especially can be made to have greater impact by selecting an unusual place for hanging — visit here for right hardware, even unconventional spots can be prepared to host a favourite work of yours. Up the side of staircases, on the front of kitchen cabinets, along low sloping ceilings, inside gaps in bookcases, even in fireplaces — the more unexpected the better.
Make sure you’re happy with the placement
Some people will insist that you need to follow a formula in order to hang pictures properly. It need not be that difficult. As long as you have a pencil, a spirit level (your smartphone has one built into the “measure” app which it is super easy to use) and are able to divide by two (to find the centre of walls and artworks), you should be alright. The most important thing is that you are happy with where your pieces are and how they are grouped together. There are a million ways to arrange this, so you can really experiment. Recruit a volunteer or two to help you hold pieces in place and see how they look from different positions in the room.
Select the right hardware
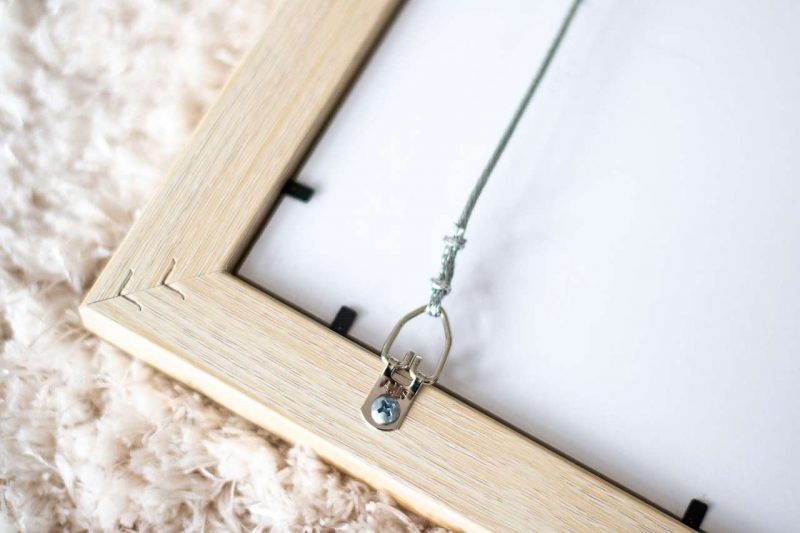
Getting the right hardware to use is a combination of finding something that suits both the piece you are hanging and the surface that you are hanging it on. If you are hanging something light on a plasterboard wall, then you are not likely to need to use a drill — but it is important to check the weight of what you are hanging against the maximum weight of the hardware you are using. Of course, some pictures and wall surfaces will involve a greater degree of DIY, for example, a heavy piece (above 6/7kg) and a brick wall. In this case, you will need a drill — and to triple check your measurements! Be extremely careful if you are drilling, as striking something essential, like a pipe or electrical wiring, can have disastrous and expensive consequences.
Don’t be afraid to think outside the picture
Almost anything can be mounted on a wall, and the hardware that you need to do it yourself is not highly specialised, it’s readily available. Try visiting second-hand shops or antique markets to find examples of one-off plates that no-one else will have displayed in their home. It’s really easy to find plate mounting frames that have adjustable diameters, and combining them with a picture rail will substantially reduce the number of holes you need to drill! Textiles are another way to make your interior stylings look impressively professional. You can frame them, but you can also easily hang them with purpose-designed clips without the cost of paying for a deep frame.
Having art, photography, textiles or ceramics on display is an extremely satisfying way to express your personal taste and does not involve the same commitment to inconvenience as redecorating. Enjoy the comments your guests make about your new feature wall or statement piece and have fun collecting.
Be eclectic
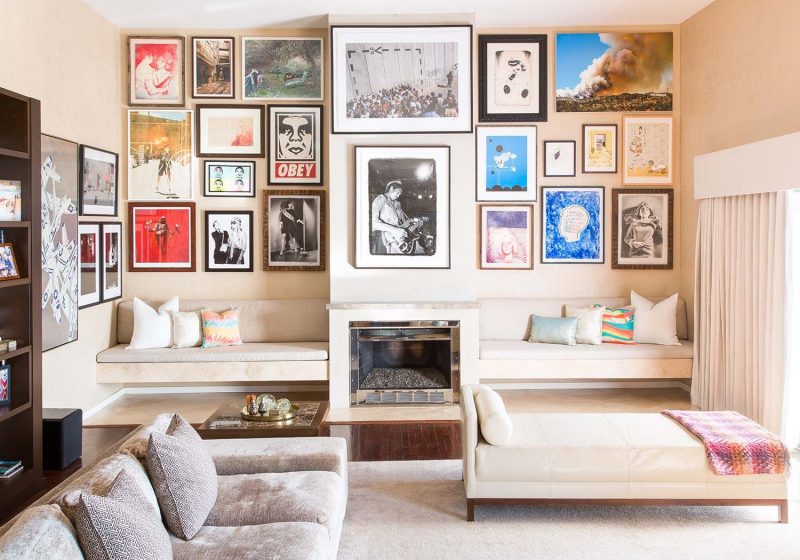
If you are worried about committing to one big print – or aren’t even sure what you like – plan a visit to the galleries and museums which are opening their doors to visitors this summer. Most galleries have a fantastic post-card and small print selection, which is the art equivalent of a sweet-shop pick and mix. Promise yourself ten postcards, or five small prints, and you’ll be surprised what you get for your money – doing it this way will keep down the cost of quality frames too. Take some time to review them when you get back home. Which go together? Could you put three or four in sequence in the same frame? Your own personal sense of style and taste will emerge without needing to “get” all the pieces or have an art buff’s knowledge of particular styles and periods.
Do it yourself
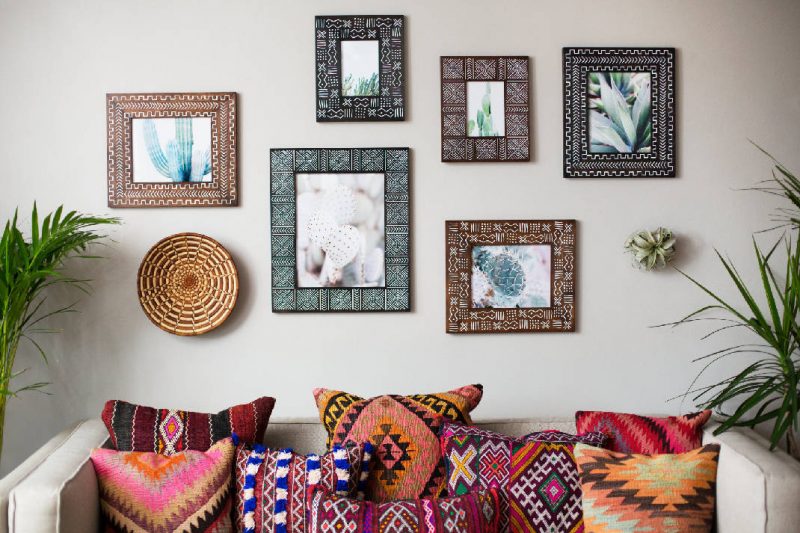
With the summer holidays coming up and longer evenings expanding what we can get done over a weekend, think about what you can personally bring to the walls of your home. Youtube, Instagram and Pinterest all host thousands of fantastic ideas for art and craft that the most reluctant beginner can pull off. Anything from potato printing, to beginner water-colour painting, to using old book pages to create hidden poems – there will be a step by step guide to making it look amazing somewhere out there. You never know, you may discover a hidden talent in yourself, a friend, or a child you are attempting to distract from the lure of the iPad.
A top tip for this kind of thing is that it always looks better as a multiple – preferably a set of three. The power of three is a rule that has governed modern design since always. It is pleasing to the eye, it creates enough variation to interest, but not so much as to overwhelm. In this context, it is kind to the eye in case there are any mistakes or wonky bits you want to smooth over without having to start again. In the context of a three, the difference represents variety, not an error. And that, of course, is how you explain it to everyone who admires the newly decorated wall of your home.


